
-
-
Beginning with v2.3 We have updated our roller system to the new tube roller design. This design offers much more spool stability and consistency as well as more options for different roller setups and faster loading/unloading.
-
The default configuration provides enough rollers for SIX average sized 1kg spools up to ~ 75mm / 3in. in width with and 203mm/ 8in. in diameter.
-
Our printed parts repository includes common options and STL files as well as instructions for making rollers that meet your particular needs for wider or narrower spools. Simply slide different rollers on and off as needed.
-
-
-
The new spool roller system consists of the following parts:
-
Two steel pipes spanning each of the inner side panels.
-
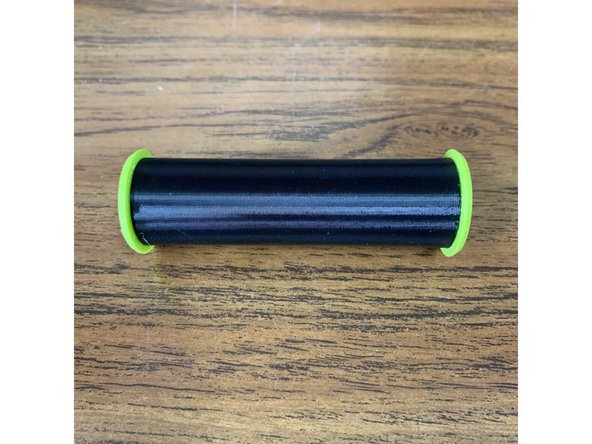
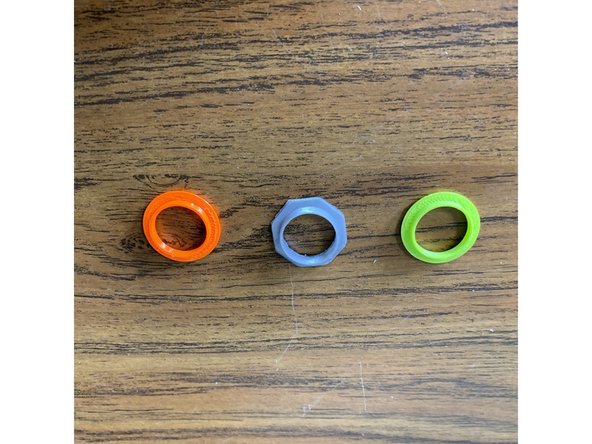
3D Printed Roller Flanges
-
3D Printed Roller Tubes
-
-
-
Each roller tube required two flanges to roll smoothly on the steel tubes.
-
Depending on what version of the RepBox you have the flange colors / design may vary slightly from what is pictured here. This is perfectly normal.
-
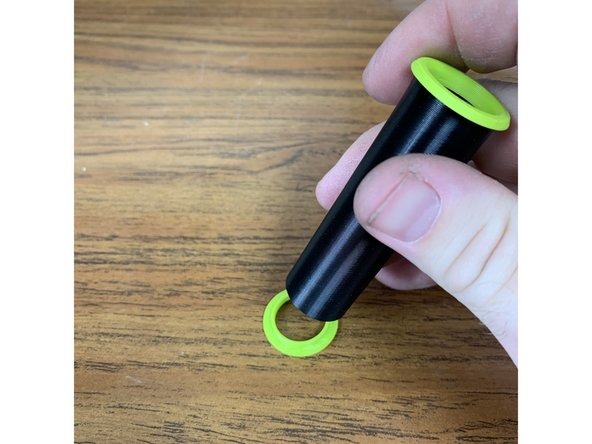
Press a flange into each end of each roller tube. This should get you 12 total rollers (six for each pipe) NOTE: One end of the printed roller tube may be slightly narrower than the other where it adhered to the print bed. If you are having a hard time pressing it on, use a de-burring tool or hobby knife to open it up slightly.
-
You may find it easier to lay a flange down on your work surface and press the tube on to it. The fit should be reasonably snug, this is by design.
-
Should you wish to create rollers of a different length you may easily do so using our pre-sized versions or guide for creating your own on our public file repository.
-
-
-
Press the roller flanges into each of the tubes as shown here.
-
-
-
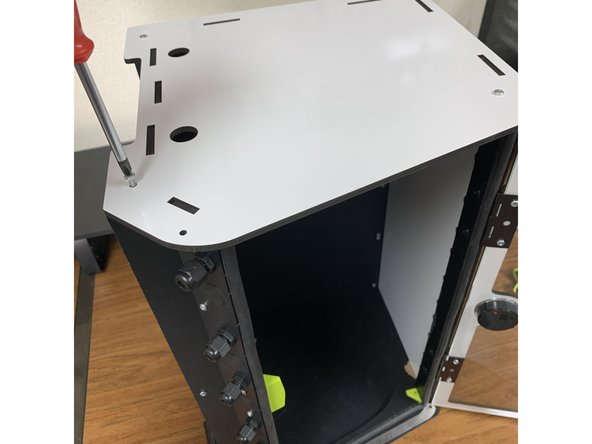
Start by laying your RepBox on its side so that the side panel that has the lid prop installed on it is touching your work surface.
-
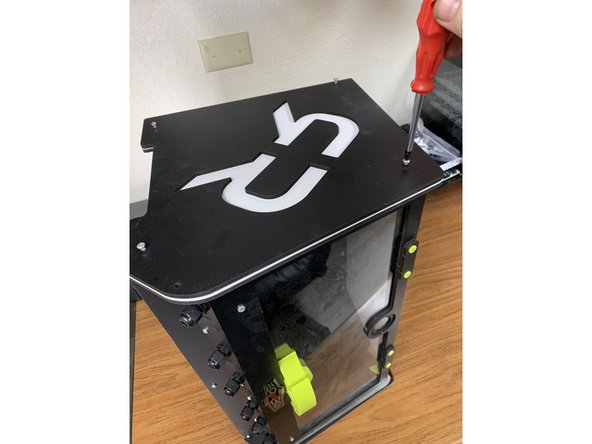
Remove the four screws that are holding the other side panel to the box and then remove ONLY THE OUTSIDE SIDE PANEL. NOTE: Your outside side panel may look different depending on what version of the RepBox you ordered.
-
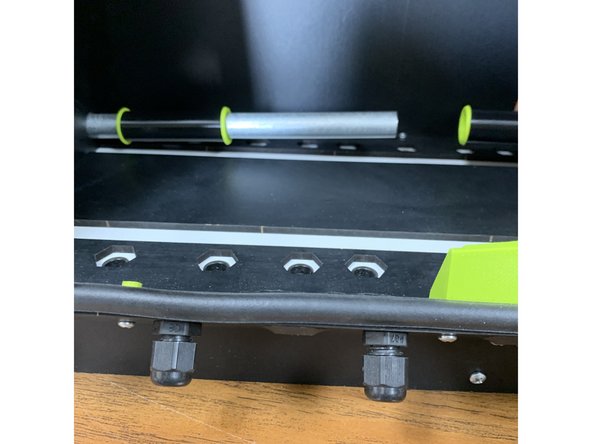
You will notice there are two holes towards the base of the now exposed INNER side panel. TEMPORARILY re-fasten the now exposed INNER side panel to its brackets with the four screws you just removed.
-
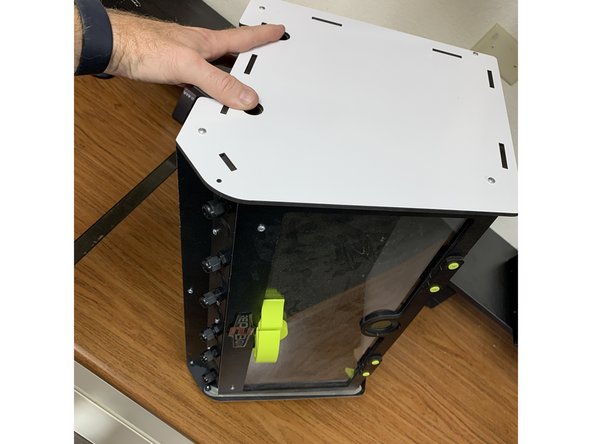
Tip the RepBox back down so it is resting on its feet again. This will allow us to more easily slide the tube and rollers in from the side.
-
-
-
Starting with the pipe closest to the rear of the box slide it in through the hole at the base of the exposed inner side panel.
-
As the tube extends into the box slip the 3D Printed roller assemblies you put together in step 3 onto the steel pipe.
-
Keep sliding the pipe in and adding the printed tubes until you get all the way to the other side panel and then guide the tube into its pipe support hole.
-
Repeat this process for the pipe closest to the front of the box.
-
-
-
Carefully tip the RepBox back onto its side so that the end without the outer side panel on it is facing upwards. NOTE: Make sure to hold the pipes into their holes while you're doing this so they don't slip out of the opposing support in the bottom side panel.
-
Remove the four screws temporarily holding the exposed inner side panel to its brackets.
-
Lay your outer side panel back on top of the inner side panel and line up the screw holes. Fasten the side panels back to their brackets using the four screws you just removed.
-
-
-
At this point you're ready to load! Place spools onto the rollers as needed so that both of their flanges rest between each of the flanges on the same roller assembly. This ensures the rotation of one spool does not interfere with an adjacent one.
-
You may notice that the flanges of the spool will actually just slip on the roller tube itself without the roller tube actually rotating. This is perfectly normal and varies depending on the weight of the spool and what its made out of.
-


Cancel: I did not complete this guide.
One other person completed this guide.
