
Introduction
This guide will provide assembly instructions for:
v2.5
v2.5.1
v2.5.2
Tools
Parts
No parts specified.
-
-
We highly recommend you use these three additional resources for the build:
-
Assembly Video: https://youtu.be/GhOFIa803xQ
-
Interactive CAD Model v2.5.0: https://repkord.com/RB2Model
-
Interactive CAD Model v2.5.1: https://repkord.com/RB251Model
-
Interactive CAD Model v2.5.2: https://repkord.com/RB252Model
-
Bill of Materials specific to the version being assembled.
-
-
-
For this build you will need a phillips head screwdriver, flush cutters, and optionally some needle nose pliers.
-
The printed Bill of Materials is very helpful to the assembly process.
-
-
-
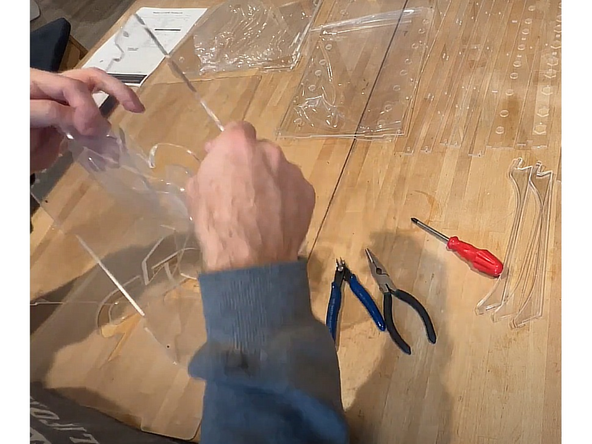
All clear acrylic panels come from the factory with a protective film on BOTH SIDES of the panel. Be sure to remove it all prior to assembly.
-
NOTE: The color of your protective film may be a different color than the clear you see here. This is normal. The acrylic underneath is still the same clear in the finished product.
-
-
-
The color of components included with the RepBox will vary based upon the 'flavor' purchased.
-
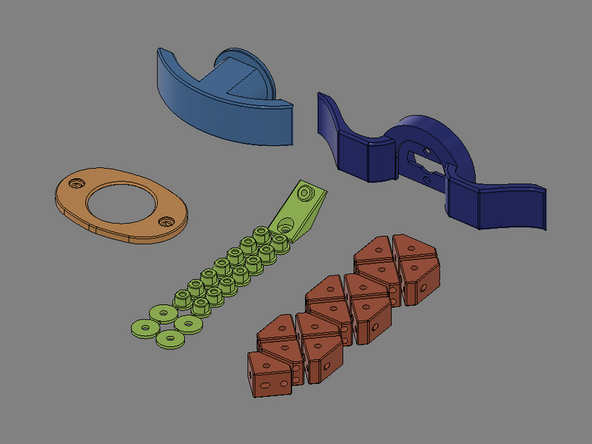
IMG 1 - Identify the six parts shown.
-
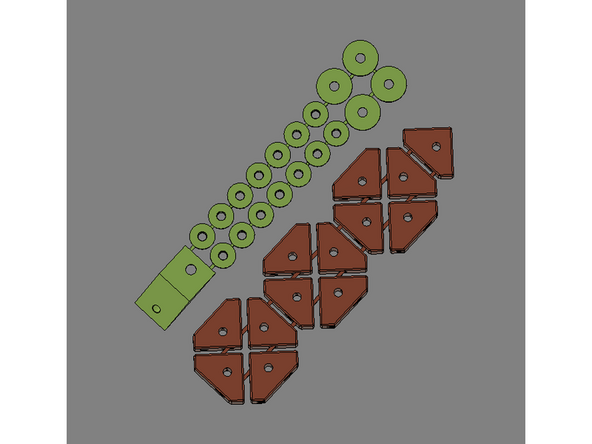
IMG 2 - Locate these two part sets. Each part is connected with small strips to keep them from becoming lost.
-
You can separate these parts from the strips either by hand or trimming them clean with flush cutters.
-
Suggestion: You can also leave the parts on the strips for the moment. Then just cut them loose right as they're needed.
-
-
-
In the following instructions, all parts will shown in a contrasting color to help distinguish one part from another during assembly. The actual parts included with the kit will be Clear Acrylic.
-
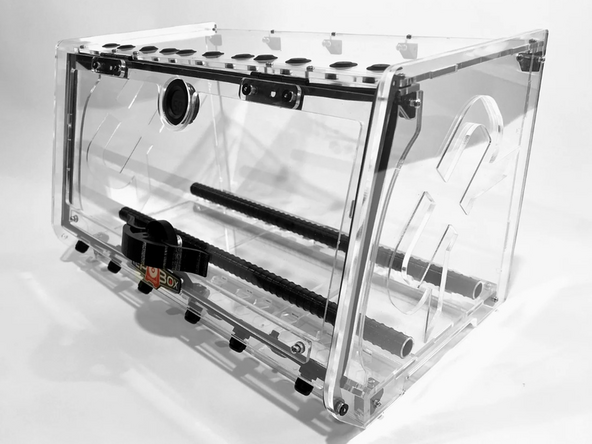
IMG 1 - RepBox shown in Clear Acrylic RepBox
-
IMG 2 - RepBox shown in contrasting colors.
-
-
-
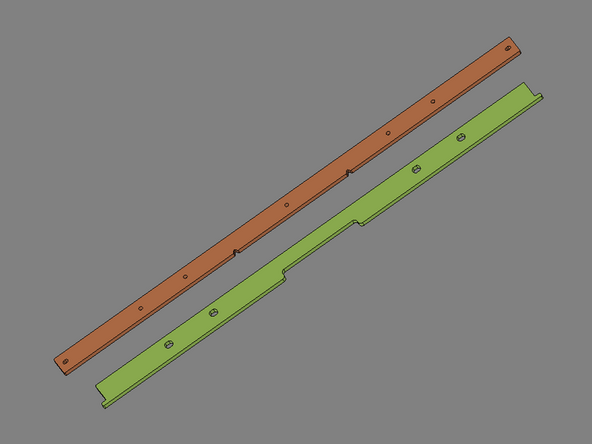
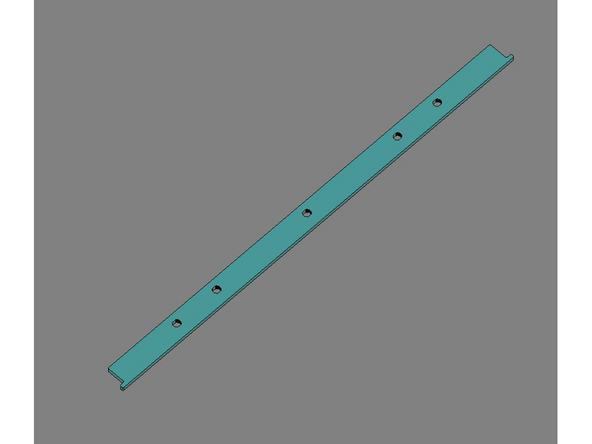
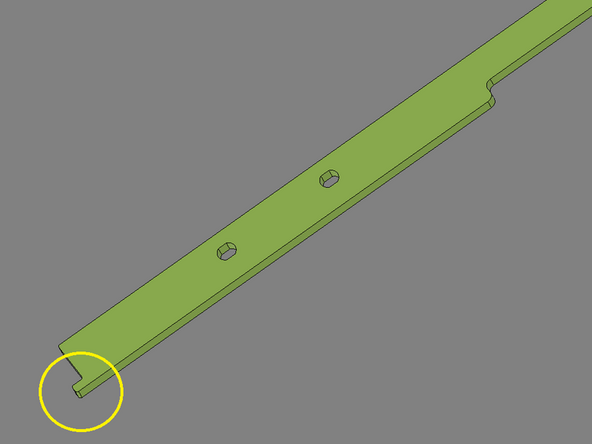
IMG 1 - Both of these parts (Item 18 & 26) are included within the Parts Tube if you have v2.5.0
-
IMG 2 - This part (Item 26) is included within the Parts Tube if you have either v2.5.1 OR v2.5.2.
-
In either case, do not cut off the tabs (circled in yellow) on either end of Item 26.
-
-
-
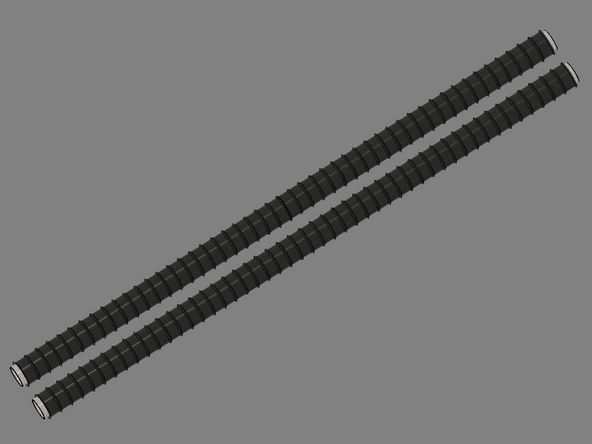
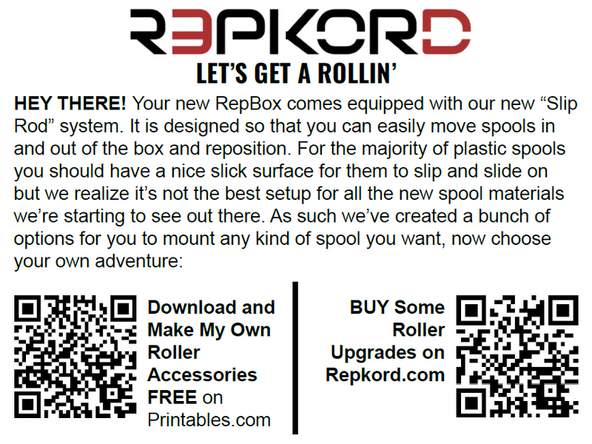
IMG 1 - Your RepBox comes equipped with our new Slip Rod system. It is designed so that you can easily move spools in/out of the box and reposition them simply. For the majority of plastic spools you should have a nice slick surface for them to slip & slide on.
-
IMG 2 - Additional Spool and Roller options!
-


Attached Documents
