Difficulty
Moderate
Steps
3
Time Required

User-Contributed Guide
This guide is not managed by the site's staff.
Quiz
0
-
-
NOTE: This is only applicable to the v1 Humidity Hunter kit. The latest version (v1.5) has discontinued the heater rod in favor of our rechargeable desiccant system.
-
WARNING: This humidity bar is for 110-120v MAINS VOLTAGE ONLY! DO NOT USE WITH 220v!
-
NOTE: The heating rod is not a dehydrator! Its purpose is to maintain enough warmth in the box to stay above the dew point and create convection currents. As such you may want to experiment with leaving some of the top holes open for ventilation and allowing moisture to escape. Your results will depend on your starting relative humidity.
-
NOTE: If you purchased your kit at the same time as your RepBox you will have the pictured lid with the cutout for the hygrometer and not the standard lid. If purchased after the fact you will receive this lid to replace your original.
-
Take a moment and verify you have all the parts shown in Pic1.
-
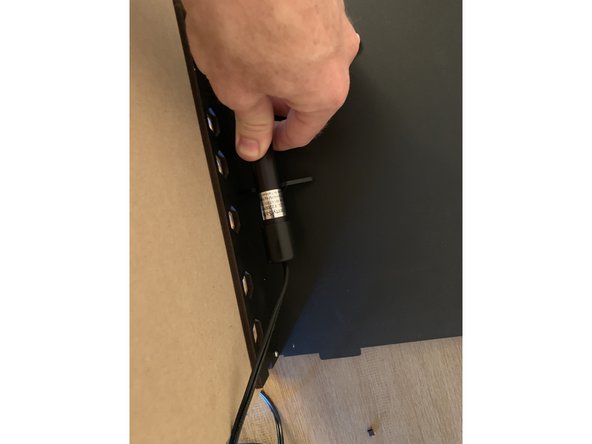
Look at the bottom corners of the back panel and you’ll see a tiny knock out. Punch the side out on the side you want the cord to exit and loosen the side panel enough to slip the plug through.
-
-
-
The two triangular brackets are what hold the heater bar to the RepBox.
-
Start by placing the tip of one of the brackets in one of the cutouts on the rear track guide.
-
The hole on the outside of the bracket will line up with the hole in the back panel. Fasten it using a 16mm button head screw and a nylock on outside of the back panel.
-
Repeat the process for the other bracket. When completed it should look like pic 3.
-
-
-
Orient the heater rod so the wire is routing out of the rear corner of the box you removed the knock-out from.
-
Clip the heater rod into the U-Channel of the brackets you just mounted. The fit should be pretty snug.
-
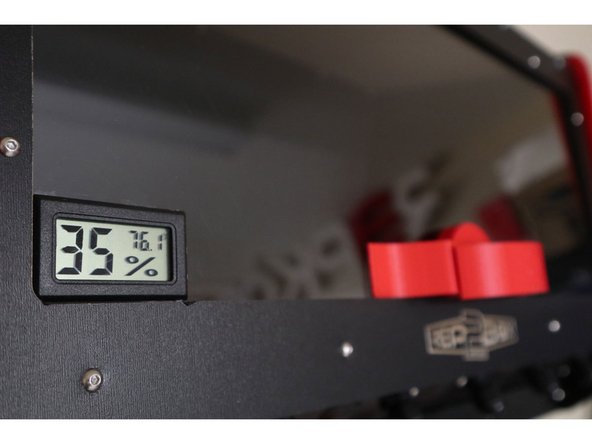
GENTLY Insert your hygrometer into the cutout provided in the lid and proceed back to the lid assembly in step 9 of the Main Assembly guide.
-