
-
-
The number of pieces of gasketing you receive may vary from what's pictured and need to be cut to fit but you should have more than enough to cover all four sides of the box face. You can see this step at the 35:47 timestamp in the assembly video. https://youtu.be/nZ5MGGcn6jw
-
-
-
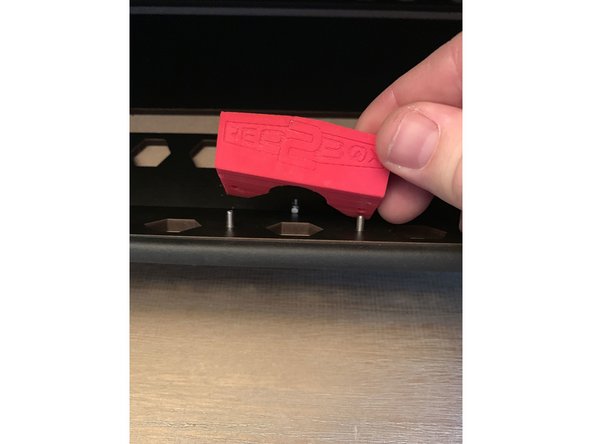
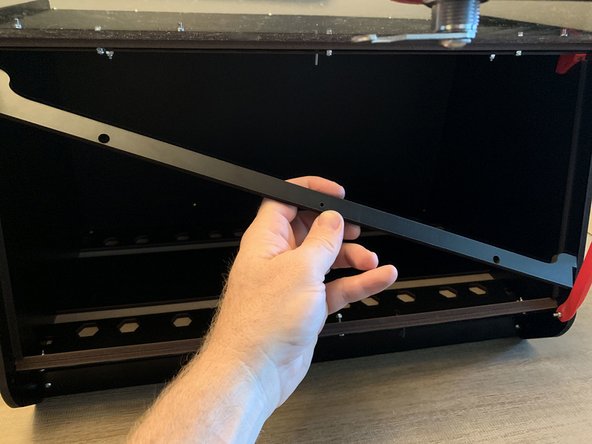
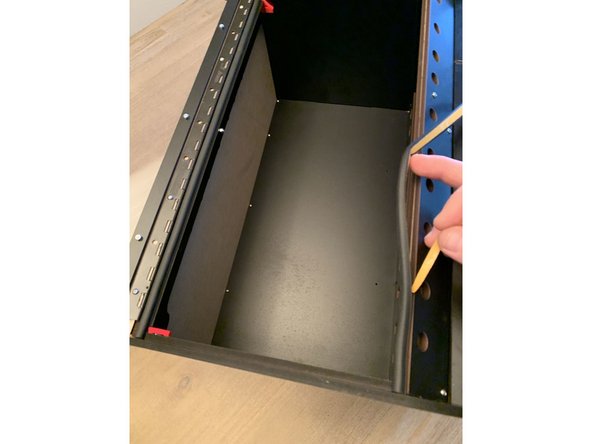
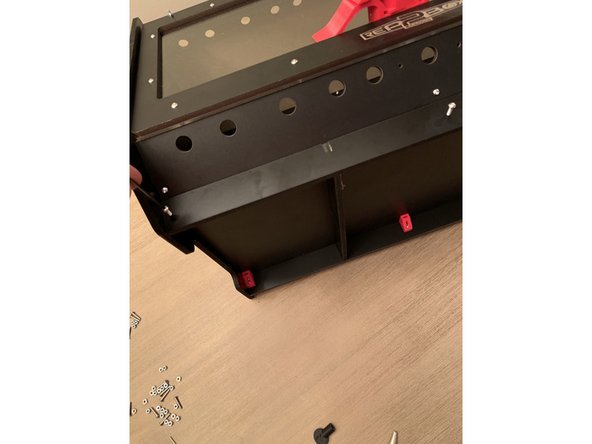
Orient the seal bar as shown in pic 1.
-
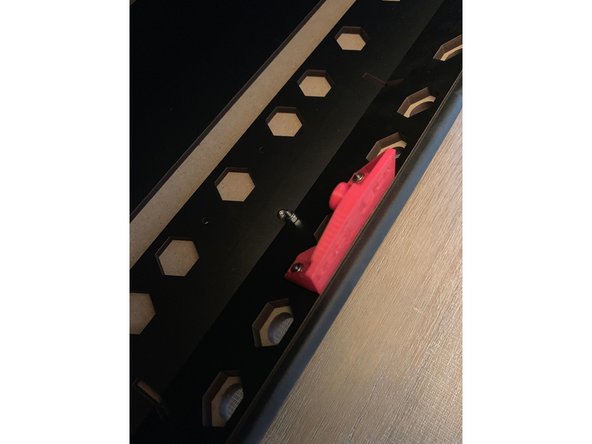
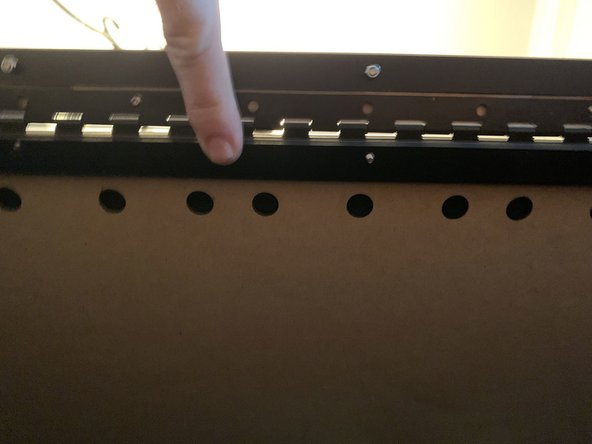
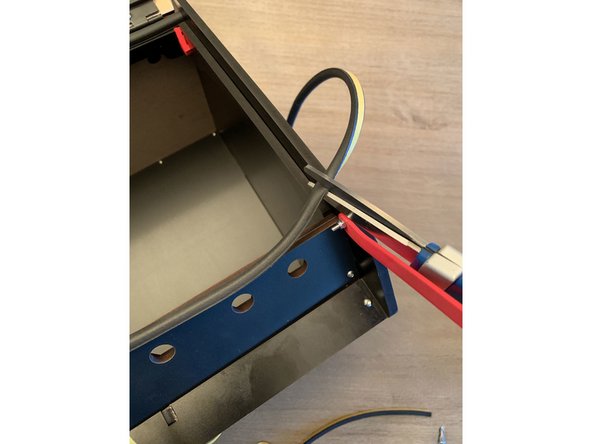
Place the key at the base of the seal bar into the notch at the edge of the interior exit panel as shown in pic 2.
-
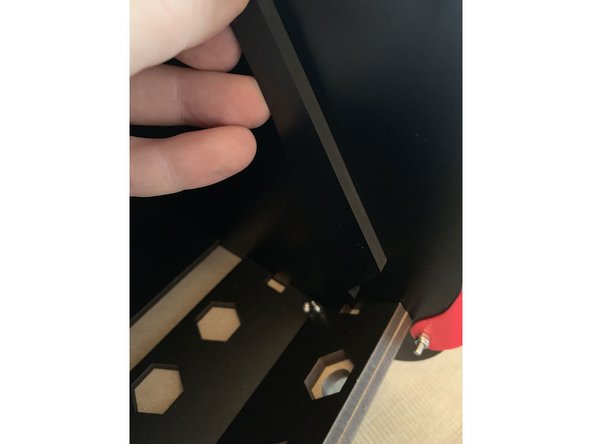
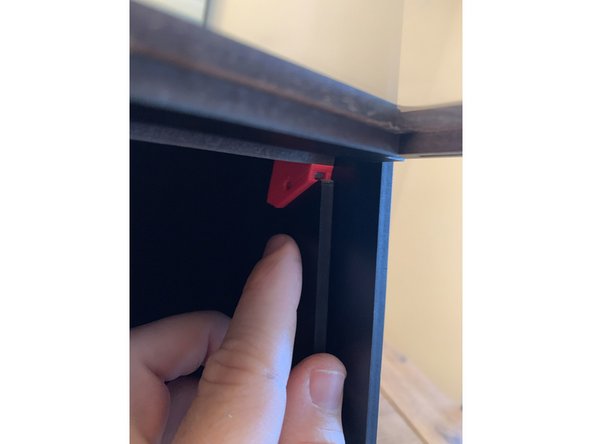
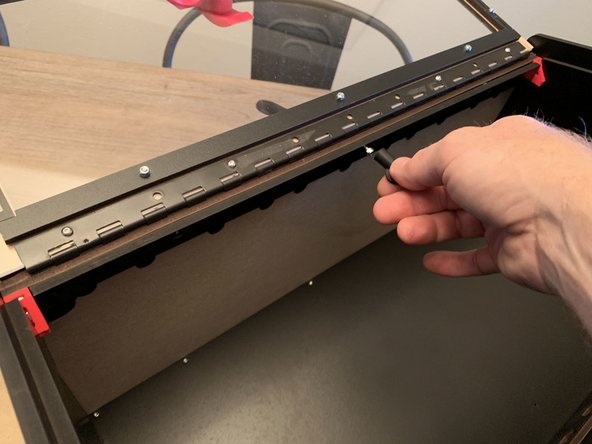
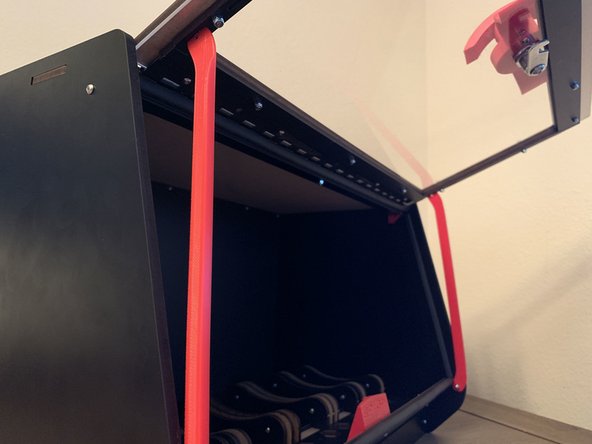
Slide the top of the seal bar around the bracket at the top front corner as shown in pic 3.
-
-
-
The top seal bar holds the side bars in place. If installed remove the screw and nylock from the center of the current lid clamp assembly.
-
The screw at the top center should be recessed and have its head resting atop the metal hinge. If there is still a knockout piece in the top panel preventing this remove it now. The front center hole in the top panel needs to be large enough for the screw head to pass through completely.
-
Press the top seal bar on top of the existing top lid clamp and fasten it with the recessed center screw and a nylock.
-
-
-
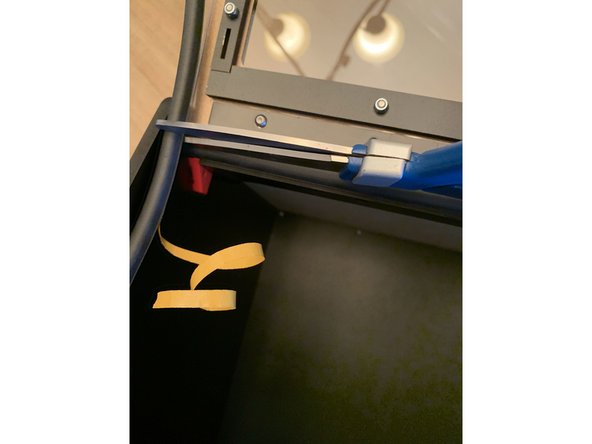
Cut your gasket to length with care! Better to cut it too long and remove material than to make it too short.
-
-
-
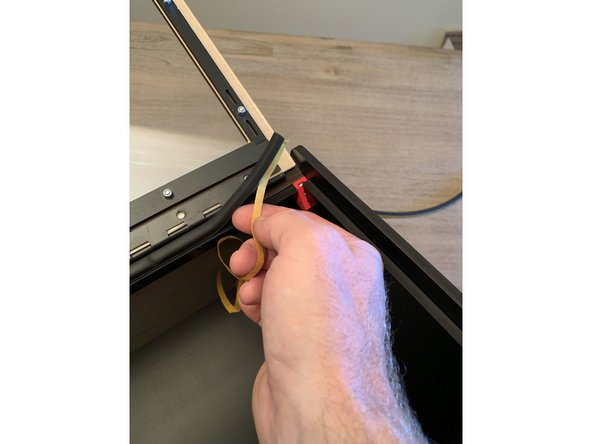
Continue to trim the provided gasket material and affix to the exit panel at the base of the box as shown. Be sure to move the lid prop out of the way to get the gasket going all the way flush with the sidepanel.
-
-
-
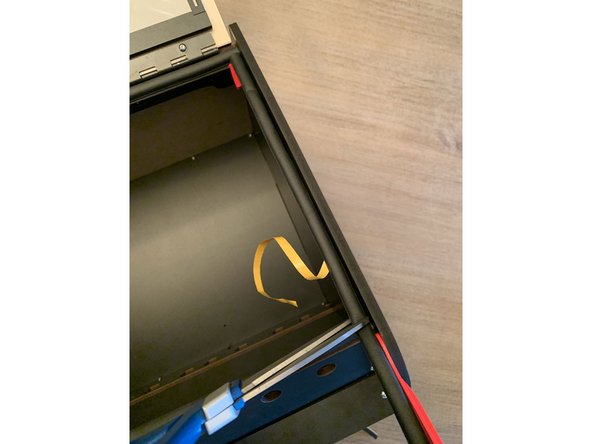
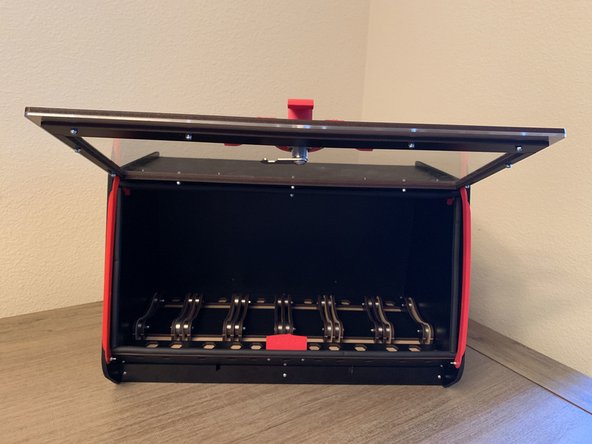
This is what everything should look like when the seal kit install is complete.
-


Cancel: I did not complete this guide.
3 other people completed this guide.
