
Tools
Parts
No parts specified.
-
-
IMG 1 - x1 Sheet of laser cut parts.
-
IMG 2 - x8 Flush Anchor.
-
IMG 2 - x8 16mm TF Screws.
-
-
-
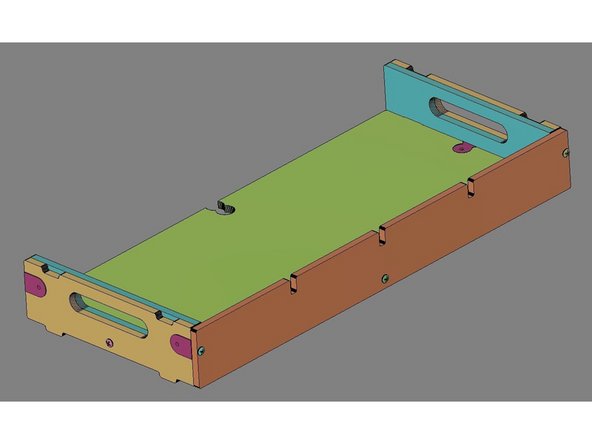
IMG 1 - This is a basic overview of the parts and assembly structure for the Bento Box.
-
There are few ways to assemble the Bento Box. These instructions are just one of them.
-
-
-
Do Not Use Power Tools for assembly.
-
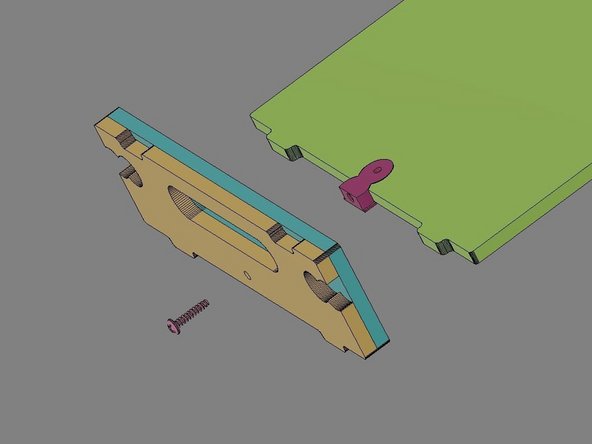
IMG 1 - Locate the Base, x1 Inner Side, x1 Outer Side, x1 Flush Anchor and x1 16mm TF Screw.
-
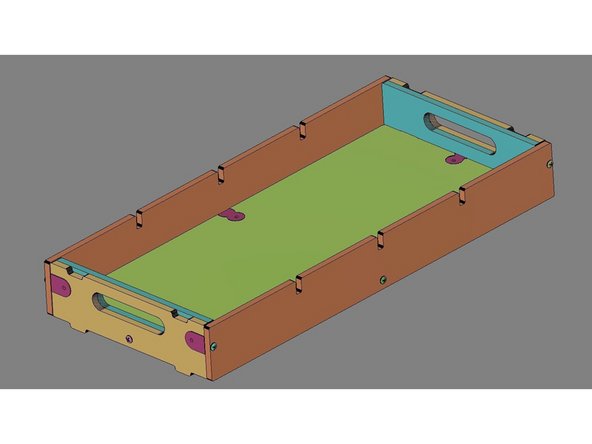
IMG 2 - Insert the Flush Anchor into the Base. Then stack the Side Outer on top of the Side Inner.
-
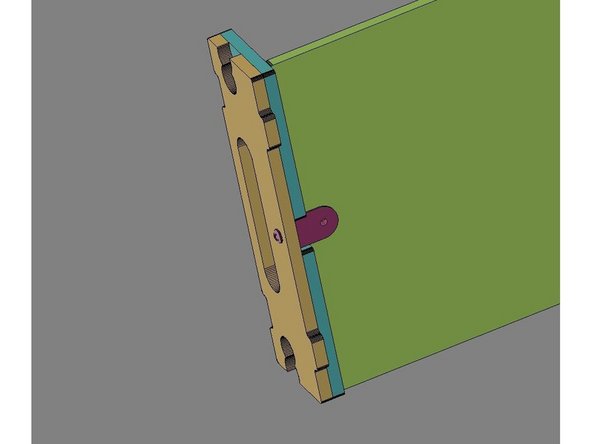
IMG 3 - Align this Side Stack with the tabs of the Base. Insert a 16mm TF Screw through the Side Stack and into the Flush Anchor; secure them together, but do not fully tighten them yet.
-
-
-
Do Not Use Power Tools for assembly.
-
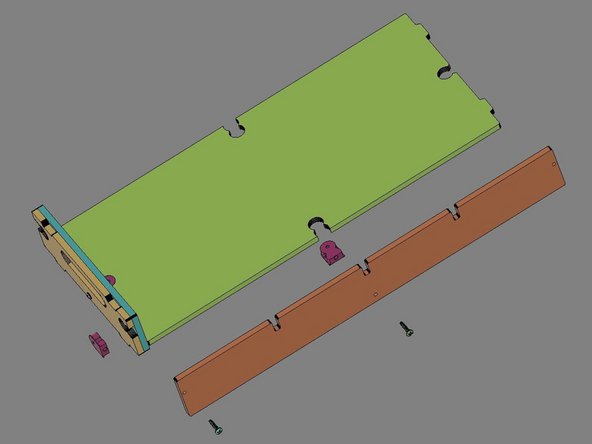
IMG 1 - Locate x1 Front Panel, x2 Flush Anchors and x2 16mm TF Screws.
-
IMG 2 - Insert the Flush Anchors into the assembly; one into the Base (up from the underside) and the other into the Side Outer as shown.
-
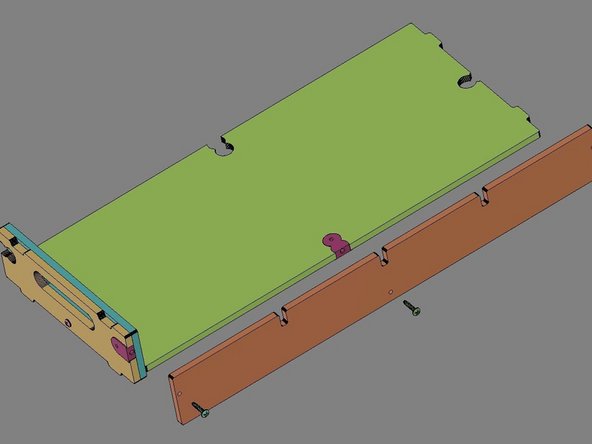
IMG 3 - Align the Front Panel to the assembly using the x2 16mm TF Screws. These two screws should pass through the Front Panel and into the Flush Anchors. Secure the Front Panel but do not fully tighten the screws yet.
-
-
-
Do Not Use Power Tools for assembly.
-
IMG 1 - Repeat Step 3 on the far side of the assembly.
-
IMG 2 - Repeat Step 4 on the other side of the assembly.
-
Set the completed Bento Box on a flat surface to help align all parts and ensure the Bento Box sets flat. Slowly finish tightening the screws until fully secure.
-
-
-
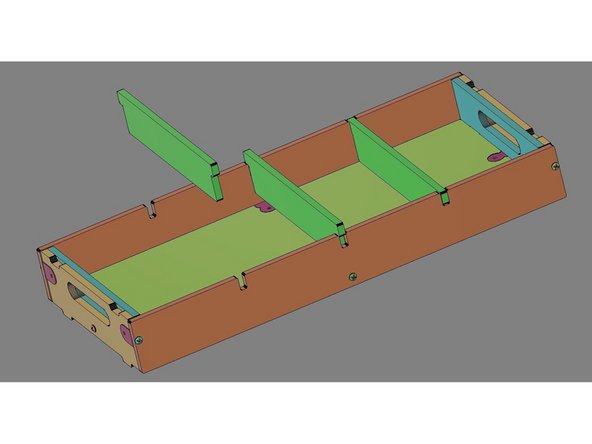
IMG 1 - The kit provides x3 Spacer Ribs. They are a slip-fit into the notches on the Panels.
-
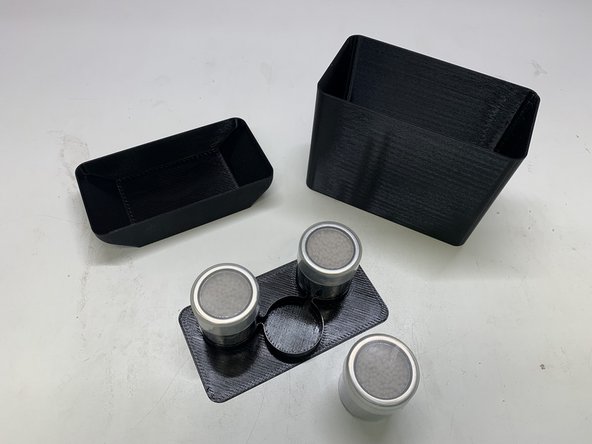
Repkord provides a few different printable Inserts free of change for downloading at Printables.com.
-
There's a low profile dish, a taller one for storing larger parts and one designed to secure three canisters of Slice Engineering Activated Alumina Filament Drying Desiccant.
-


Cancel: I did not complete this guide.
2 other people completed this guide.