
-
-
Laser Cut Roller Sides
-
3D Printed Bushings
-
Roller Bearings
-
The bolts that come in the bushing bag (Long and short)
-
Nylock Nuts
-
-
-
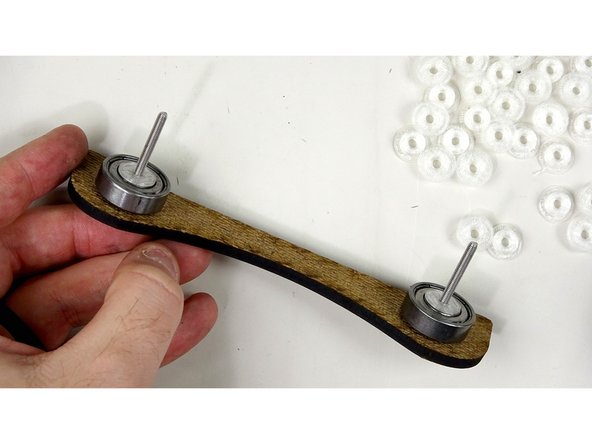
Take one of the laser cut roller sides and thread two of the longer bolts through each hole.
-
Place bushings on the bolts, followed by a bearing, and then another bushing.
-
Do this for both bolts.
-
-
-
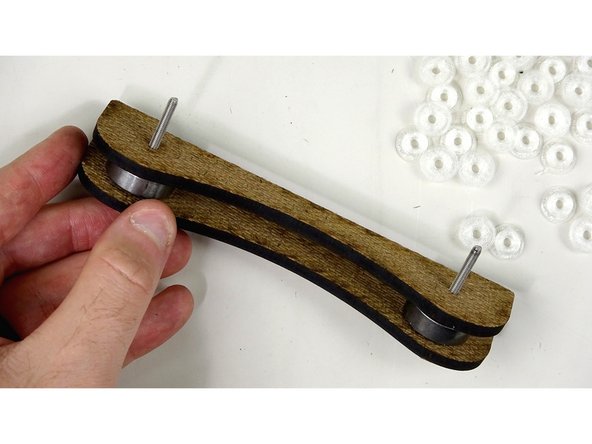
Place another laser cut roller side over the bolts.
-
Do the same thing on this side. Bushing, bearing, bushing. One on each bolt.
-
-
-
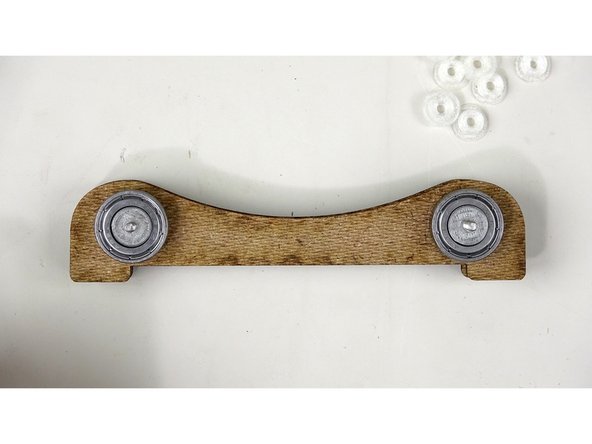
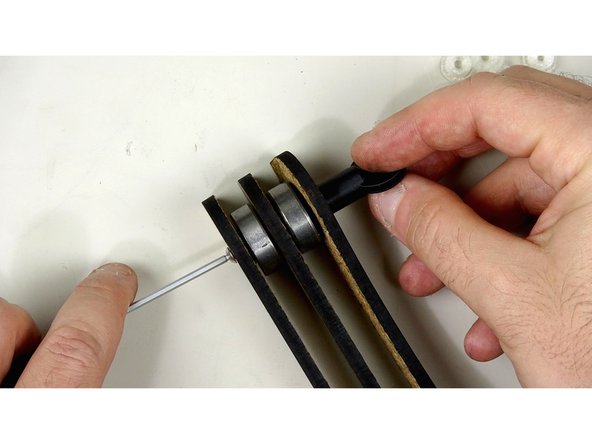
Place another laser cut side over the bolts.
-
Secure the bolts into place with nylock nuts.
-
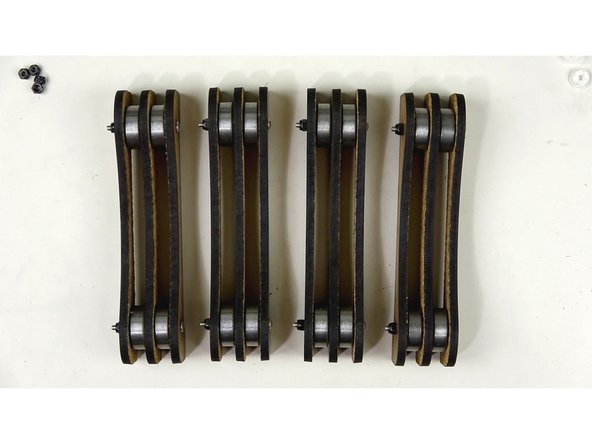
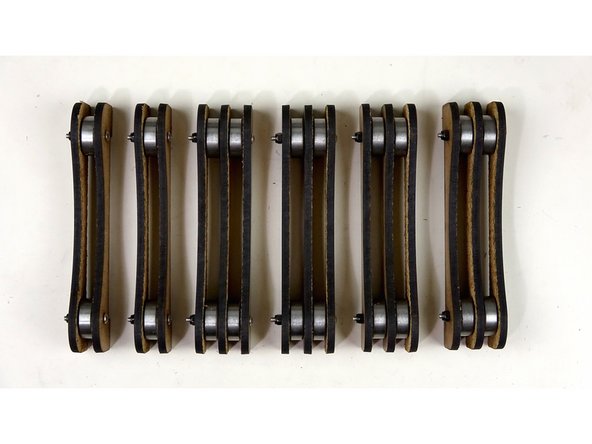
Repeat Steps 2-4 until you have 4 of these dual rollers built.
-
-
-
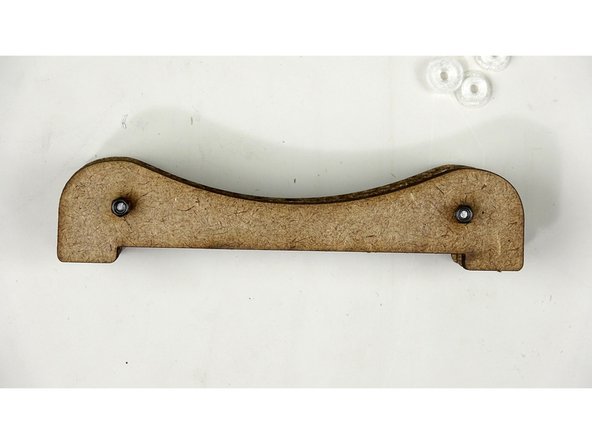
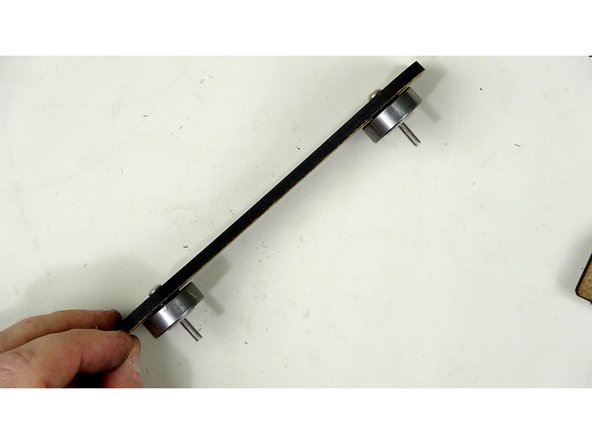
The single roller assembly is just like the dual, except you cap off after a single row of bearings.
-
Make sure you use the shorter of the bolts in the bag.
-
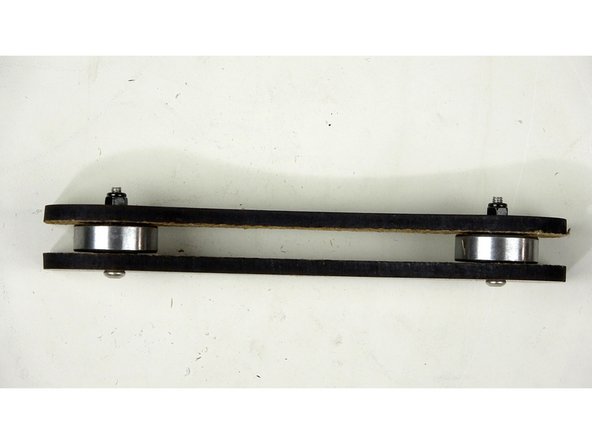
You'll want to make sure you have a bushing, a bearing, and another bushing in between the two laser cut sides.
-
On the Standard and Sealed Kit, you should have 2 single rollers and 4 dual rollers.
-
-
-
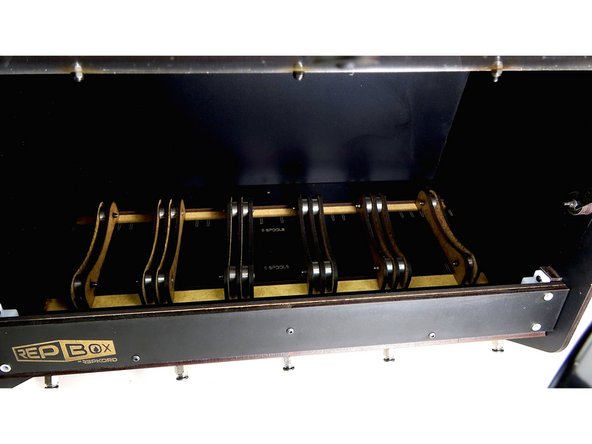
Throw those rollers into the interior, placing the single wide rollers on the ends.
-
DONE! Congrats! You've Just built a Repbox!!!
-


Cancel: I did not complete this guide.
2 other people completed this guide.
