
-
-
Grab the Pneumatic Fittings
-
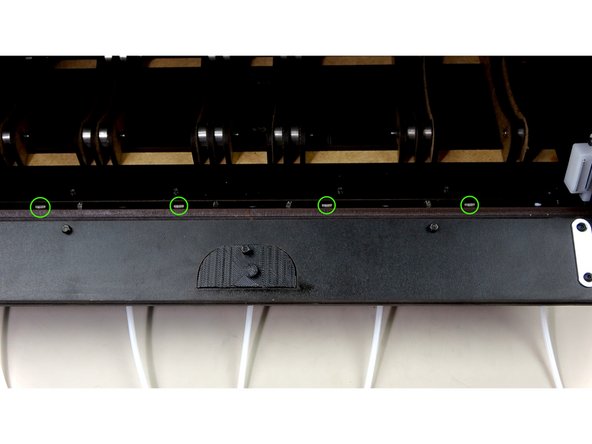
Carefully thread the fittings into the holes of the outer exit plate.
-
You can use needle nose pliers to help screw in the fittings.
-
Do NOT over tighten the fittings! You could strip out the wood holes.
-
Make sure to evenly space the fittings as in the third pic.
-
If you purchased the extra roller kit, you'll install Pneumatic fittings in all of the holes.
-
-
-
Grab the PTFE Tube
-
Using a ruler, measure out 20CM and cut the PTFE tube square using a razor/craft knife.
-
Avoid using scissors to cut the tubing. It will pinch the ends where it cuts.
-
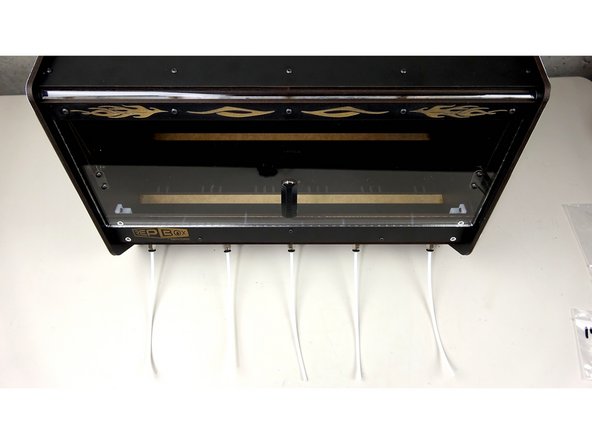
You should have 5 even length PTFE tubes.
-
If you have the extra roller upgrade you'll need to cut four more 20CM tubes.
-
-
-
Using a craft knife, carefully ream out one of the ends of each tube into a 'cone' shape. This will make inserting filament into the tube easier.
-
-
-
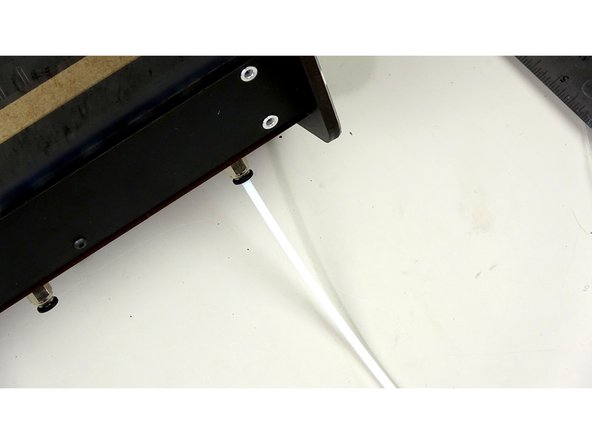
Insert one PTFE tube (with reamed side going IN TO the box) in and through each of the Pneumatic fittings.
-
The PTFE tube will go all the way through the fitting and into the inner compartment.
-
Feed the tube in until it is flush with the inner exit plate (Pic 2)
-
-
-
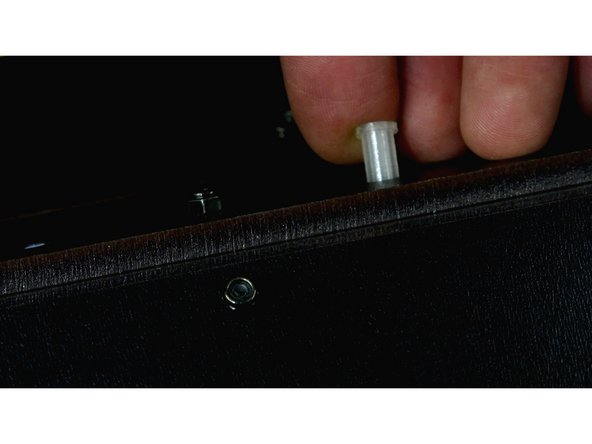
If you have the seal kit and have extra holes open, where there are no fittings, you can close these up with the included 3D Printed stoppers.
-
Insert one stopper in to each open hole from the inside of the box (Pic 2)
-
-
-
Take the 'D' gasket and remove the protective backing from the adhesive.
-
Carefully adhere the D gasket to the exposed lip of the inner face plate.
-
-


Cancel: I did not complete this guide.
2 other people completed this guide.
