
-
-
The latest version of RepBox includes an adjustable exit fitting style that allows you to use it with PTFE tubing from 4mm to 6mm in outer diameter making it useable with either 1.75mm or 3mm filament.
-
Your kit includes 1m of 2mm ID x 4mm OD PTFE tube for use with 1.75mm filament. For 3mm filament you may use your own PTFE or purchase appropriately sized PTFE from www.repkord.com
-
-
-
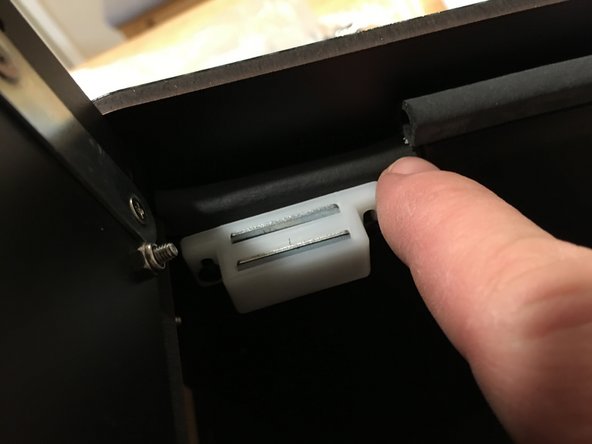
The exit plugs seal tight by design in order to prevent air incursion. Use care when you press them in by supporting the back side of the panel with your other hand. Use common sense, too much pressure can crack the panels.
-
Press the plugs into the exit holes that you aren't using for the time being.
-
Additional spool rollers and connectors are available on www.repkord.com if needed.
-
-
-
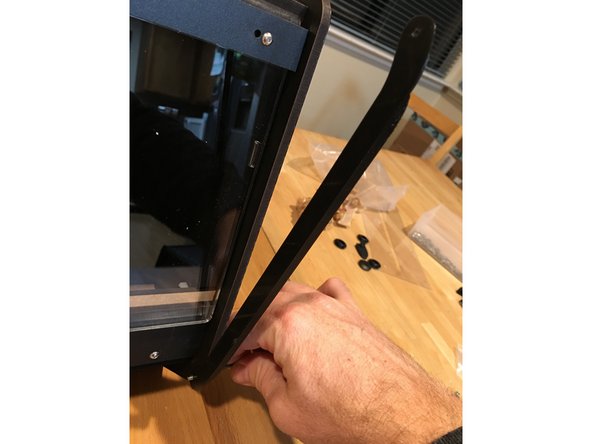
Bolt your 3D printed lid prop on to your preferred side of the RepBox using one 16mm bolt and a Nylock through the bottom holes of the side panel and lid prop.
-
The flanged edge of the prop goes on the side closest to the side panel and lays on top of the side panel edge when not in use.
-
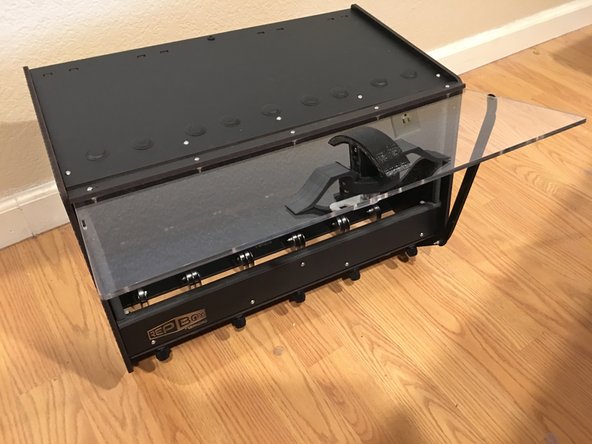
To secure the lid open simply grab the top of the prop and pull away from the box slightly and place into the small notch cut out of the acrylic lid.
-
The lid prop is reversible and can be installed on either side or both sides if you want to print a second prop from the STL files on the www.repkord.com website. One prop is more than sufficient to hold the lid open, but hey, if you're a fan of symmetry who are we to tell you to do otherwise?!
-
-
-
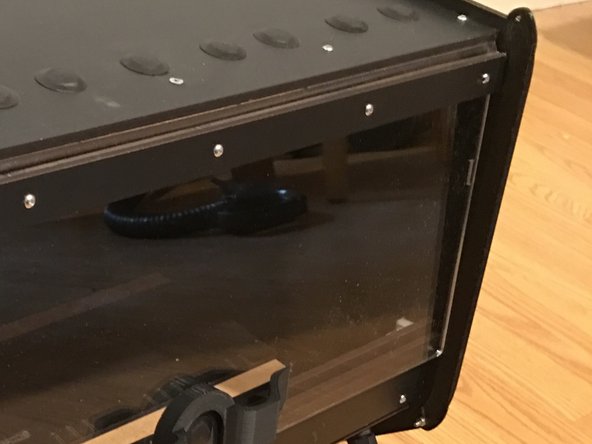
Lay the box on its back and peel the backing off of one of the strips of gasket.
-
Starting from the center of the faceplate top lip, press the gasket on and move across so that excess is hanging off of both sides of the faceplate
-
Trim excess gasket from the ends of the faceplate.
-
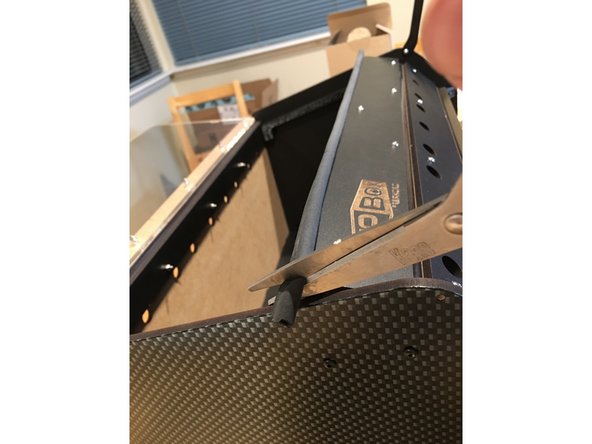
Carefully measure and cut the other gasket to line the front faces of the seal bar. You'll need a long piece for each side that contacts the acrylic lid and two shorter pieces that seal against the faceplate when its closed. Four pieces total.
-
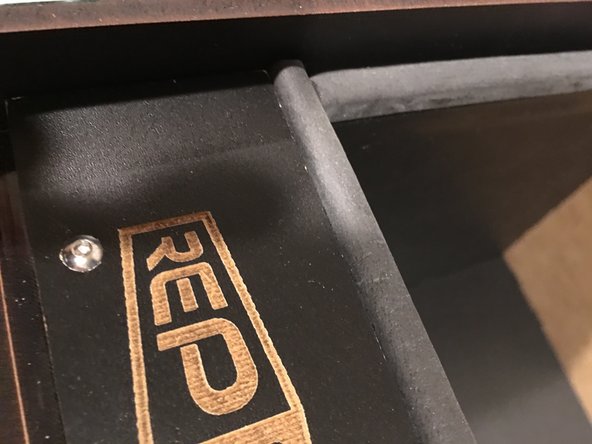
Remove the backing from each of your cut pieces. and press onto the seal bars. For the longer acrylic contacting pieces line up and press onto the seal bar along the edge that's closest to the inside of the box. This leaves a small channel for your lid prop to rest in when not in use.
-
Go slowly and cut conservatively. You can always trim shorter if need be. When everything is cut correctly all exposed edges should line up perfectly as in the picture
-


Cancel: I did not complete this guide.
2 other people completed this guide.
