
-
-
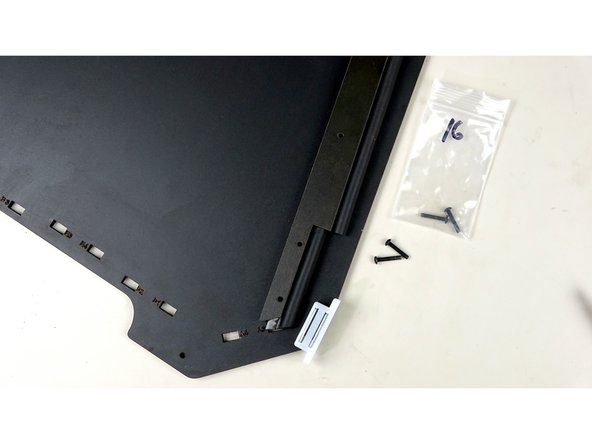
Side Panels
-
16mm Bolts
-
Rivnuts
-
Top and Bottom standoff pieces (Pictured) STANDARD KIT ONLY!
-
Magnetic Catches
-
-
-
IF YOU HAVE THE SEAL KIT, SKIP DOWN TO STEP 4!
-
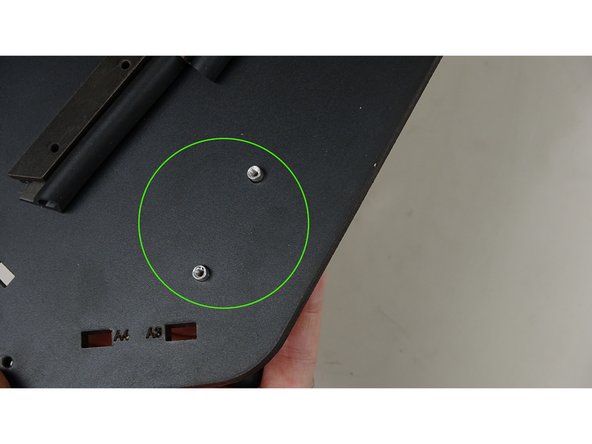
Hold the side panel at an angle to where you can place the rivnuts through the two large holes at the bottom of the unfinished side. You want the flanged part of the nut to rest against the unfinished side.
-
Carefully flip the panel over to where the finished side is sticking up. Be careful to keep the rivnuts in place.
-
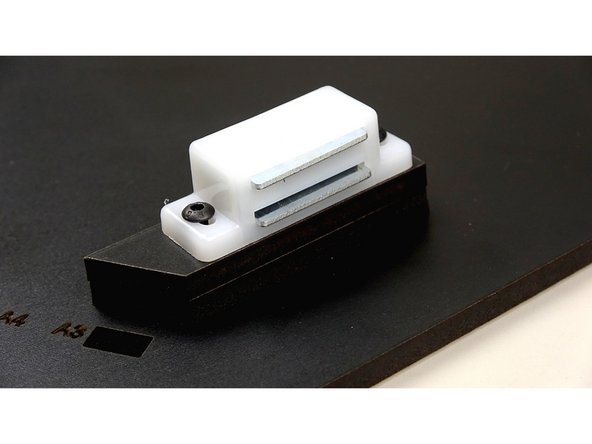
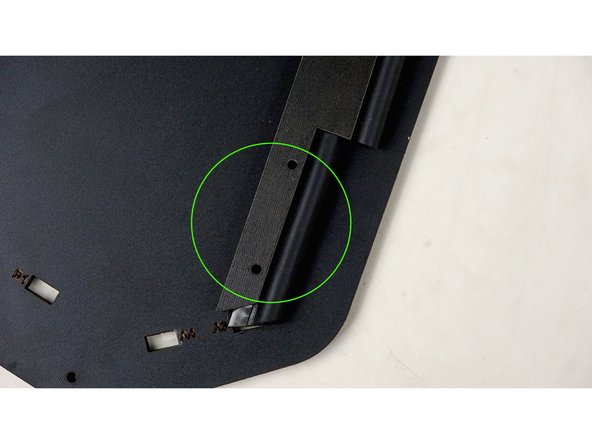
Place the bottom standoff over the rivnuts as pictured.
-
Repeat for the other side panel (note that the orientation of the step will be mirrored for the other panel)
-
-
-
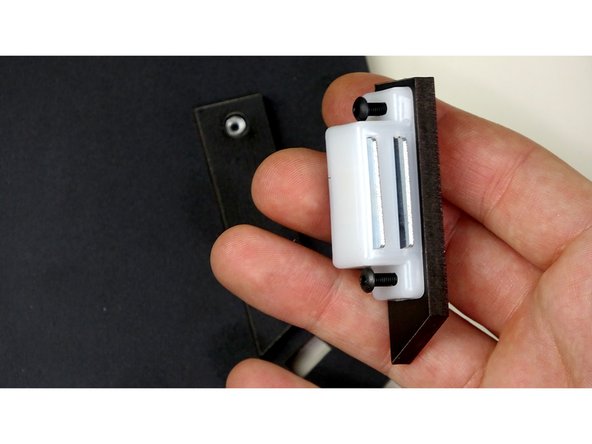
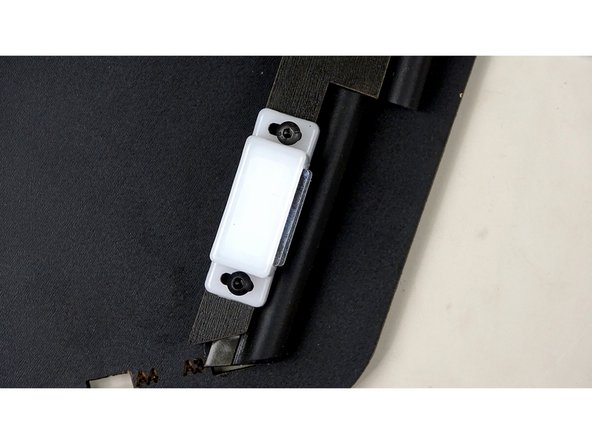
Insert two, 16mm bolts into the magnetic catches, one on each side. Then place the Top standoff bracket below the magnetic catch, making sure to bring the bolts through as pictured.
-
Place this on top of the bottom stand off bracket, to where the bolts line up and the brackets match. Then tighten down the bolts to where they catch the rivnuts on the other side.
-
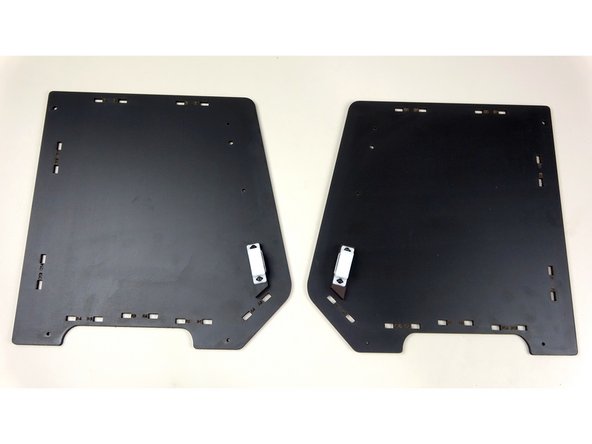
Repeat for the other side panel, but mirrored. Your final assembly should look like the last photo.
-
We're done with the Standard Kit side panel assembly. Let's start putting the whole thing together! Click Here to go to Stage 5!
-
Everything below this step pertains ONLY to the Seal Kit Version of the box.
-
-
-
ALL STEPS BEYOND THIS POINT ARE FOR THE SEAL KIT.
-
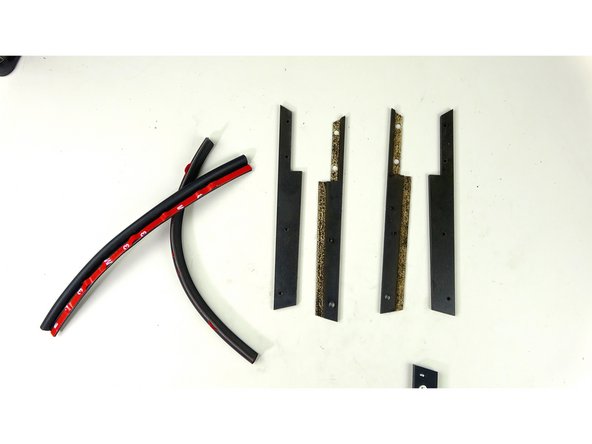
Seal Bars (Cleaned During Stage 0). Top and Bottom, Left and Right.
-
3D Printed Trapezoidal Corner Brackets, prepared in Stage 3.
-
"P" Gaskets
-
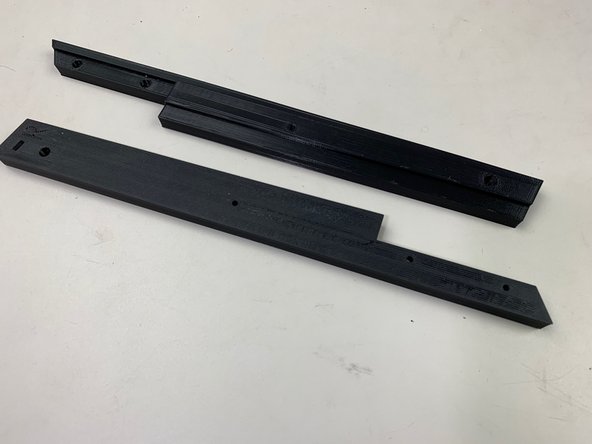
If you have the newest version of the Seal Kit, you will NOT have the wooden parts! Instead you will have complete 3D Printed, Seal Bars (Pic 3). Follow the instructions below on attaching the P Gasket. It's basically the same.
-
-
-
Take on of the 3D Printed Trapezoidal Corner Brackets. You'll notice the indent running along one side. This is the part where the P Gasket is going to attach,
-
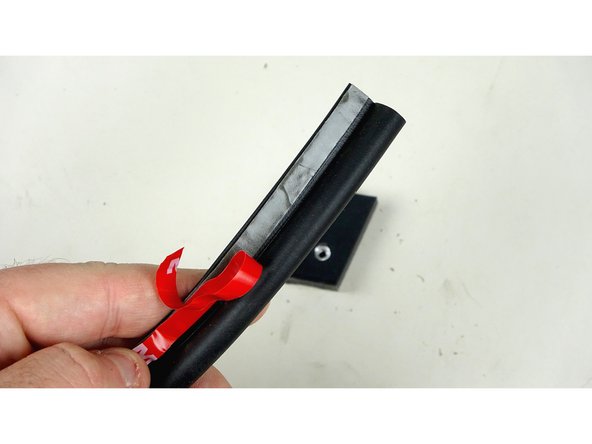
Pull back a short portion of the protective film from the adhesive of the P Gasket.
-
Place the Lip of the P Gasket (the part with the adhesive strip) into the indent of the Corner Bracket (as pictured in pic 3). Leave about 5mm of gasket hanging over the top of the bracket. We'll trim this later.
-
Repeat with the other Corner bracket, but mirrored.
-
This part is integrated into the new 3D Printed version of the Seal Bars. Use the next step and just make sure the P gasket covers the entire upper length of the bar.
-
-
-
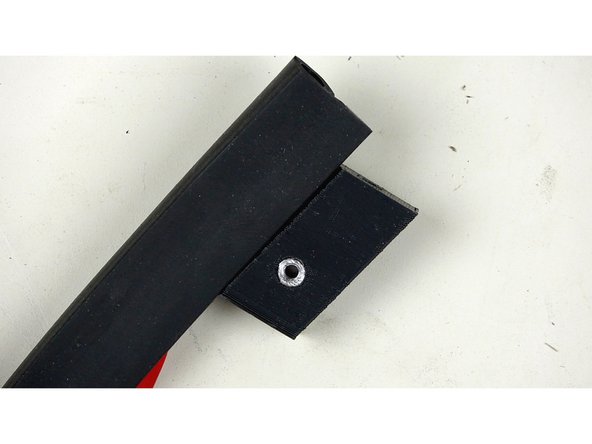
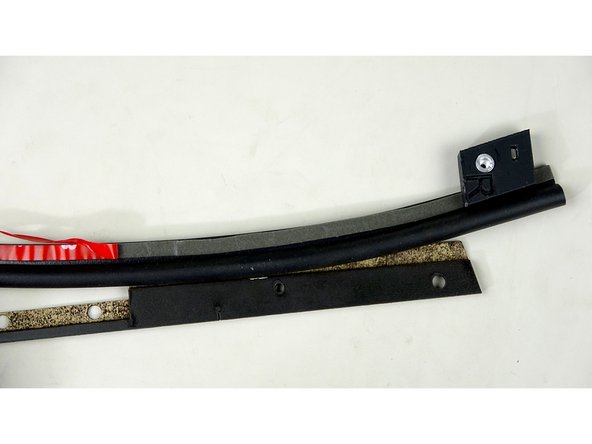
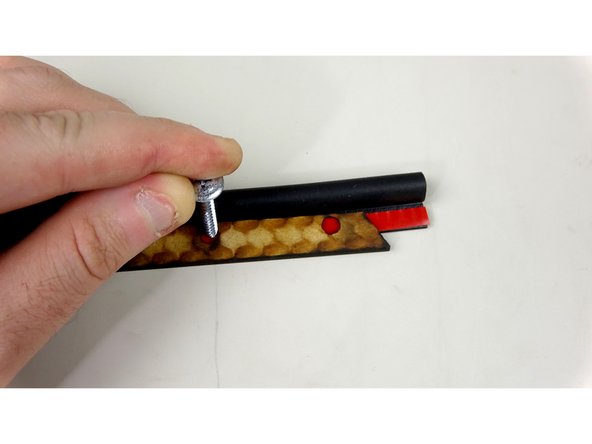
Take the bottom seal bar that matches the correct angle of the bottom of the Corner bracket. (see Pic 2 for orientation)
-
Strip back enough of the protective film to go the length of the top portion of the seal bar (Pic 1)
-
Place the exposed adhesive Lip of the P Gasket on the lip of the bar, making sure of proper orientation (check against pic 2 or 3)
-
Trim the excess length even with where the seal bar changes depth (pic 3)
-
Repeat for the other seal bar, but mirrored.
-
-
-
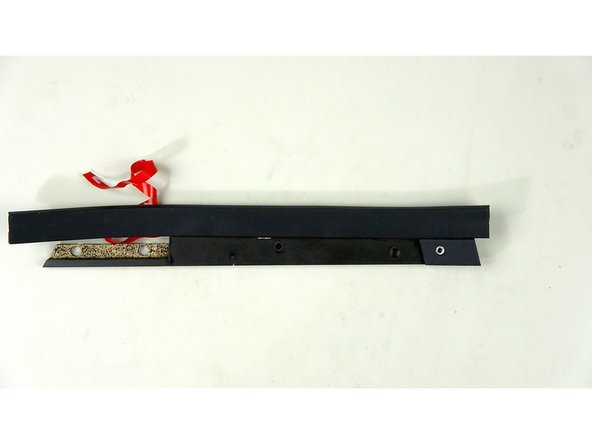
Flip over the Seal Bar and place the remaining P Gasket (With protective film still ON) under the lip of the bottom portion of the bar (Pic 1)
-
Use a sharp object to mark the P Gasket where the holes are in the seal bar. You can use one of the screws that came in the kit (Pic 2), or a sharpie/pen.
-
You should have clear marks when looking through the holes at the Gasket. (Pic 3)
-
Repeat for the other seal bar, but mirrored.
-
-
-
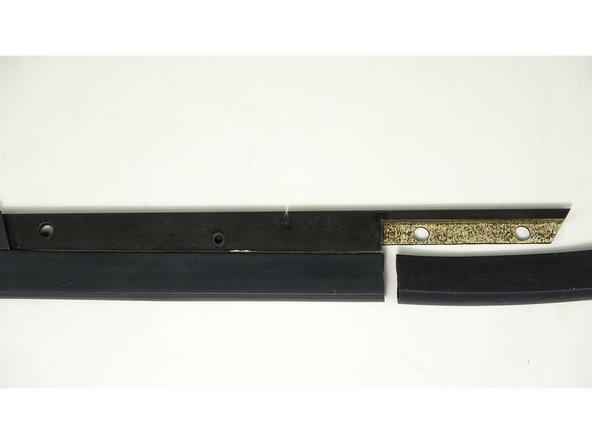
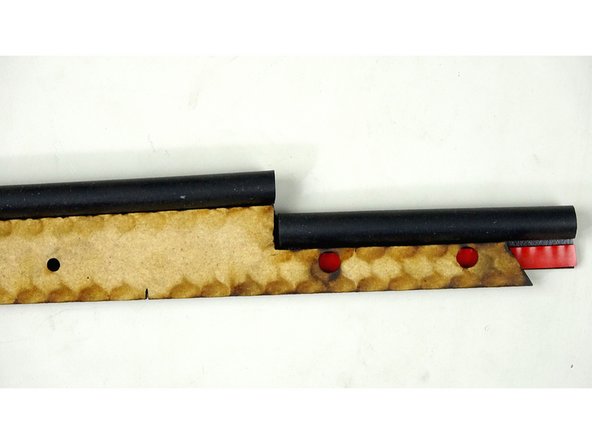
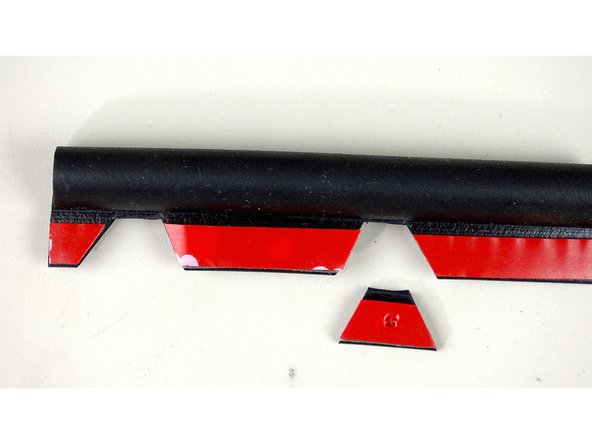
Cut the lip of the p gasket as shown in pic 1.
-
Take off the remaining protective film from the P Gasket.
-
Attach the P gasket to the lip of the bottom of the seal bar.
-
Trim the excess at an angle with the bottom of the seal bar. See pic 3. Make sure the holes line up with the cut outs in the gasket.
-
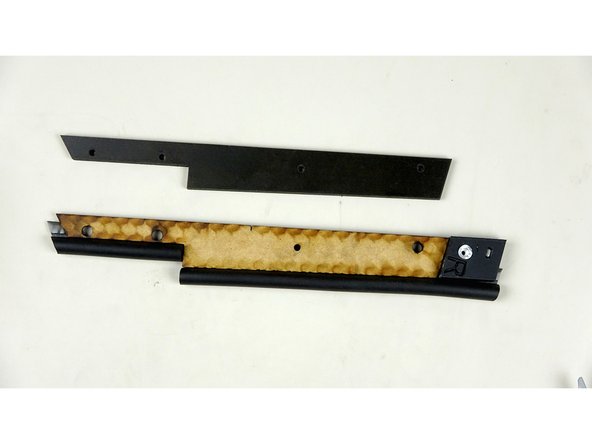
The following steps will show the seal bar as one piece. The Top piece simply sets on top of the bottom piece. The unfinished sides of the top and bottom should be touching, so that the finished sides are facing out.
-
Repeat for the other seal bar, but mirrored.
-
-
-
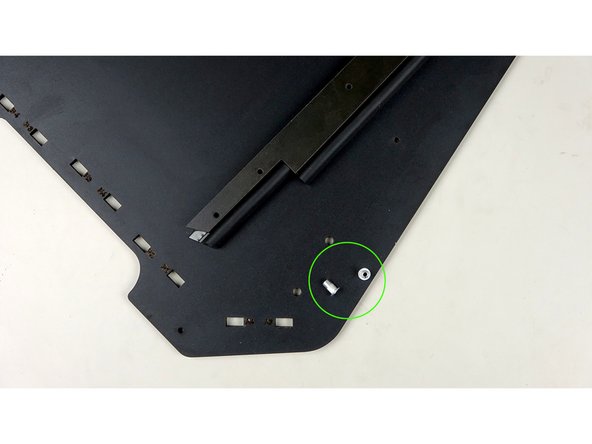
Place two rivnuts into the bottom portion of one the side panels. The rivnuts should come from the unfinished side of the panel.
-
The rivnuts should stick up a little bit through the side panel.
-
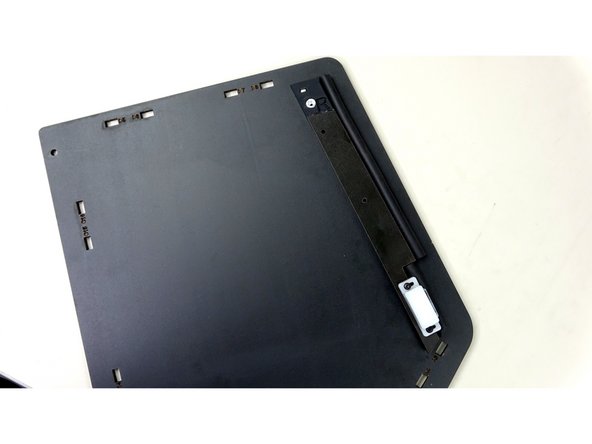
Place the seal bar over the rivnuts. The holes in the seal bar should fit over the rivnuts.
-
Make sure the correct seal bar is on the correct side panel. Use the last picture as reference. The other panel should be mirrored.
-
Repeat for the other seal bar and side panel, but mirrored
-
-
-
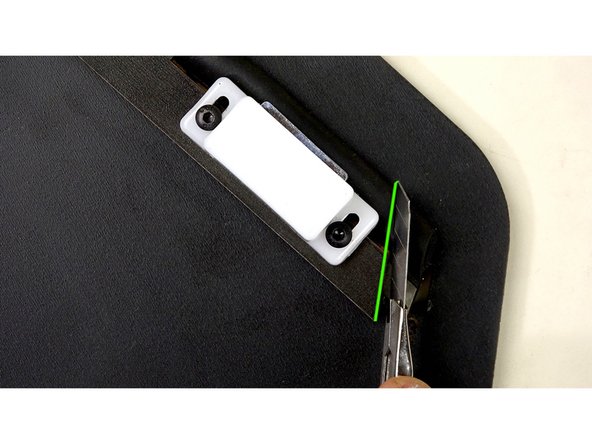
Using 16mm bolts, secure the Magnetic Catches to the seal bar and side panel. The bolts should pass through the seal bar and catch the rivnuts.
-
Repeat with the other seal bar and side panel, but mirrored.
-
-
-
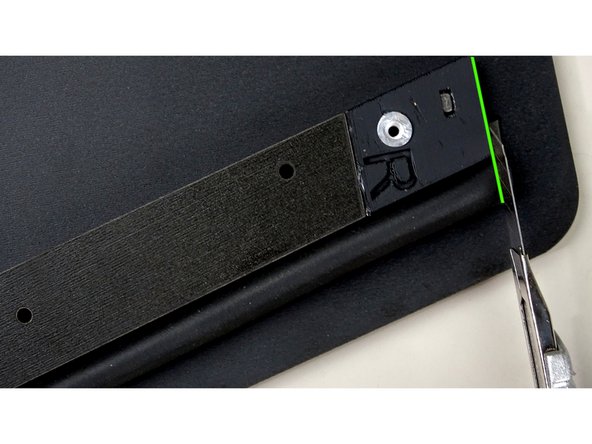
Trim the top and bottom of the P gasket to be flush with the top and bottom of the seal bar.
-
Repeat with the other seal bar and side panel.
-
-
-
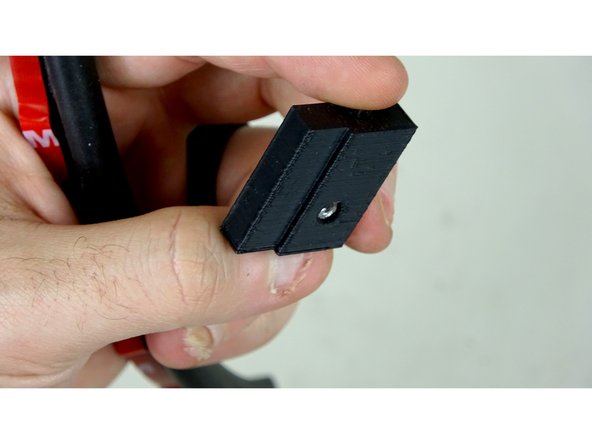
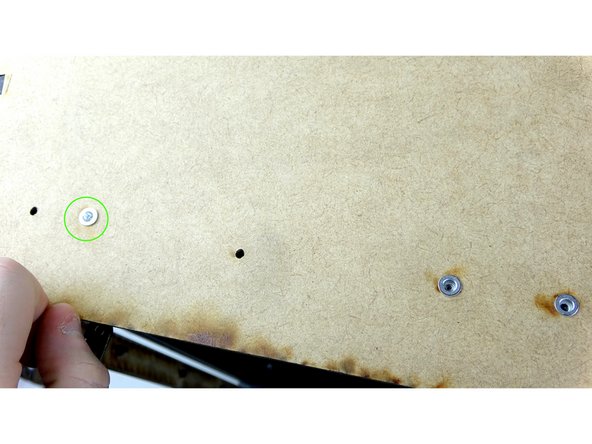
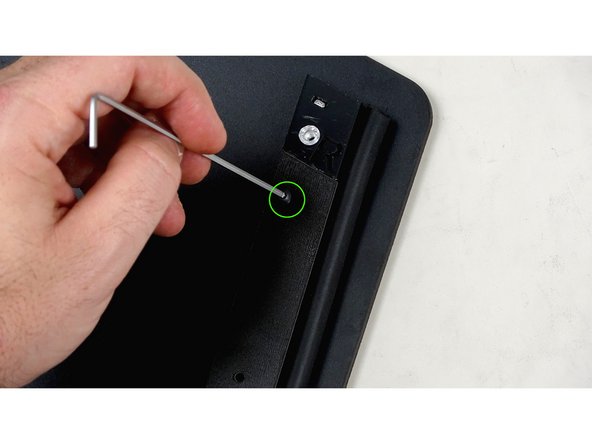
Insert a rivnut into the top larger hole of the side panel.
-
From the top of the panel, use a 16mm bolt to secure the seal bar in place.
-
Repeat with the other seal bar and side panel.
-
-


Cancel: I did not complete this guide.
2 other people completed this guide.
