
-
-
Top Panel
-
Top Lid Plate Clamp (Skinny panel)
-
14mm Bolts, 20mm Bolts, and Nylock Nuts
-
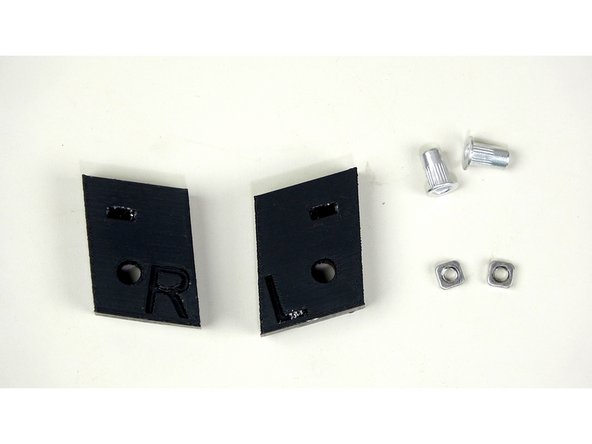
3D Printed Trapezoidal Corner Brackets (With R and L imprinted)
-
Rivnuts and Square nuts
-
Skinny Vinyl Hinge
-
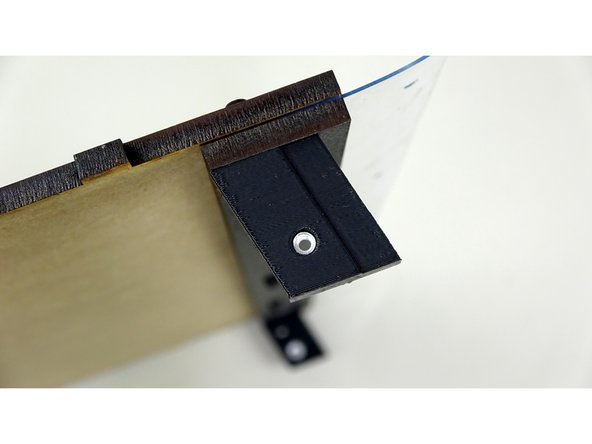
NOTE: On the latest version, the seal kit will NOT include the 3D Printed Trapezoidal Corner Brackets. Instead you will get 3D Printed Complete Seal Bars. (Pic 3) During Step 3 you will need to prepare the top of these bars.
-
-
-
Stand the Top panel on its side as pictured. Insert the 14mm bolts from the finished side to the unfinished side as pictured. Leave the bolt holes on the ends EMPTY.
-
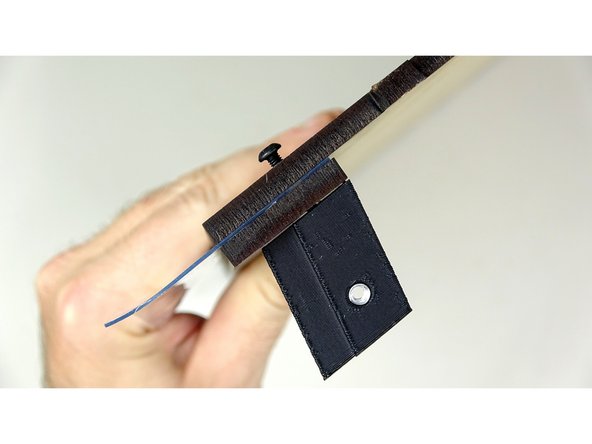
Start threading the vinyl onto the bolts. The holes will only line up one way. The vinyl should help keep the bolts in place. Turn the assembly and lay it down, with the finished side facing down (as pictured)
-
Lay the Top Lid Plate Clamp panel, finished side up, over the vinyl and bolts, sandwiching the vinyl between the top plate and the clamp plate.
-
Secure the plates in place with nylock nuts.
-
-
-
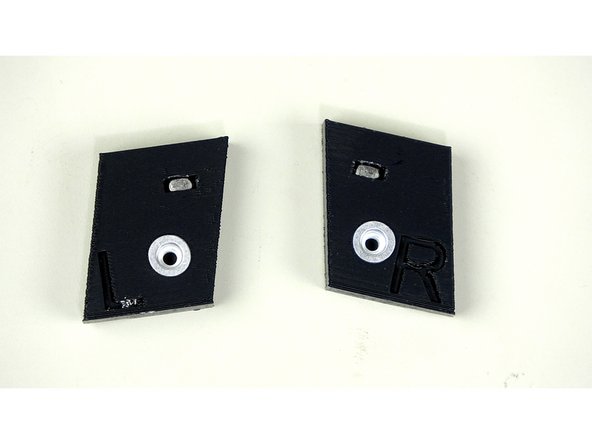
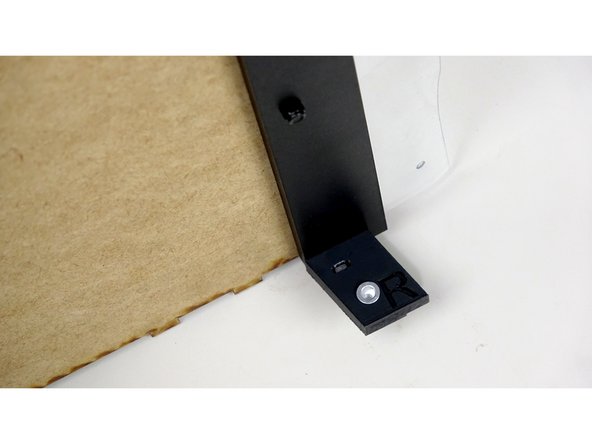
Insert a rivnut and square nut into each bracket. Both should be inserted into the side of the brackets with the embossed letters.
-
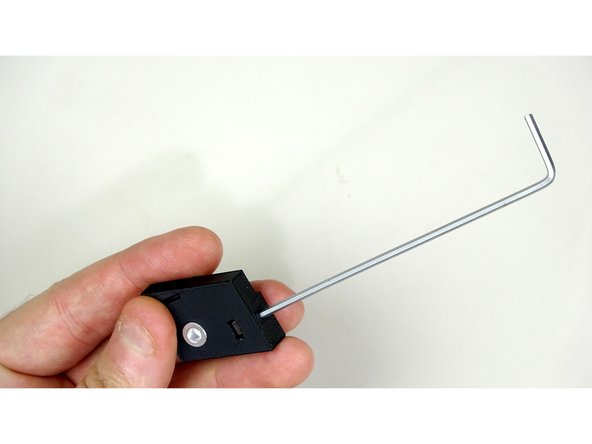
The square nut should be inserted far enough that you should be able to insert the allen wrench through the top hole and the square nut.
-
SEAL KIT: If you have the latest version of the seal kit, then these are incorporated into the 3D printed seal bars. Follow these same instructions with the top of those Seal Bars. You'll notice they have the same L and R Markings.
-
-
-
Skip this step if you have the Seal Kit!
-
Insert the 20mm bolts though the end holes of the Top Panel (from the finished side).
-
Use the bolts to attach the Trapezoidal Corner Brackets. The embossed letters should be facing INWARD.
-
Check your work: Your top panel assembly should look like the last picture. Pay attention to panel orientations. If all is good, hit the button in the Finish Line and head to the nest Stage.
-
-


Cancel: I did not complete this guide.
4 other people completed this guide.

One Comment
Not a big thing, but maybe for consistency thought out the whole guide in Step 2 list the exact number of 14mm bolts needed.
Sean Deuell - Resolved on Release Reply
Got the Seal Kit and two left bars. Downloaded the kits .zip file and printed them out in PETG. Eazy Peezy!
Neal Weeks - Resolved on Release Reply