
Tools
Parts
No parts specified.
-
-
The Hygrometer can be switched from Celsius to Farenheit and back using the button on the back as shown in the video.
-
The "R" Circle and the Acrylic behind it are designed to be knocked out so a hygrometer can be added.
-
To remove the knockouts you could disassemble the faceplate from the lid and press each out separately, but it can also be done as shown in this video by striking the acrylic circle sharply FROM THE INSIDE TO OUT with the butt of a screwdriver.
-
The circular knockouts are slightly different diameters to allow for the flange of the hygrometer to seat against the acrylic. DO NOT TRY TO PRESS INWARD ON THE KNOCK-OUTS FROM OUTSIDE THE BOX.
-
-
-
If you're having a hard time fitting the hygrometer, trim the tabs on the sides with a hobby knife or flush cutters as shown here.
-
-
-
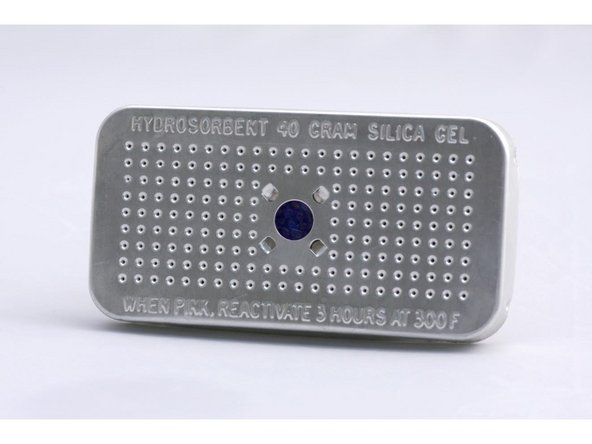
Place the rechargeable desiccant cartridges in between the rollers on the center track, or on the front exit panel if you're not using it for exits.
-
The silica gel beads will go from blue to pink when they are in need of recharging.
-
To recharge your cartridges simply follow the heating instructions printed directly on them.
-
For best results we recommend sealing the joints of your Repbox with silicone to provide maximum filament protection
-

Cancel: I did not complete this guide.
6 other people completed this guide.
