Introduction
This is the assembly guide for the RepBox Double and Triple STAX Kit
Tools
Parts
No parts specified.
-
-
You will need to complete the build for each of your RepBox Kits you want to add to your STAX kit. A double STAX kit will require two assembled RepBoxes and the Triple Kit will Require three.
-
-
-
-
The acrylic version of the STAX kit comes with a protective film on it. Be sure to remove all protective films FROM BOTH SIDES OF THE PANELS before proceeding with assembly.
-
Acrylic can scratch easy. So be particularly careful when handling it, especially with its protective film removed.
-
-
-
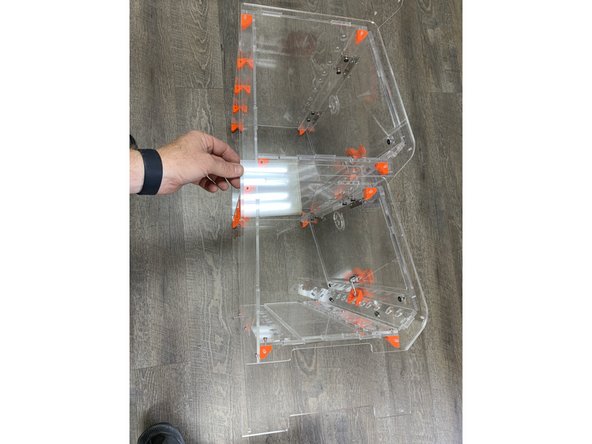
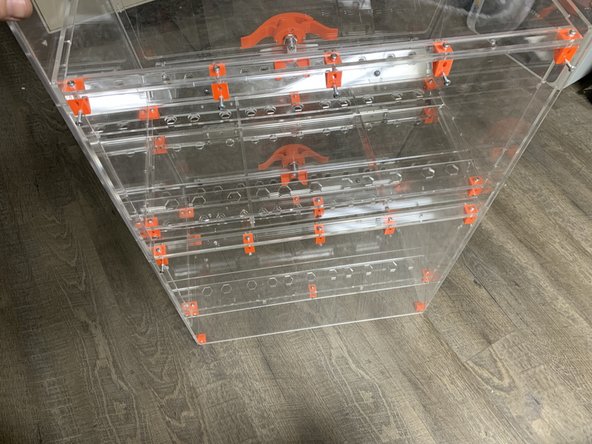
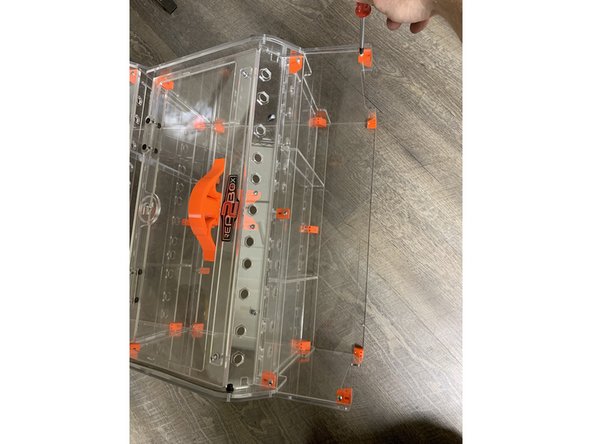
Once your RepBoxes are assembled, lay them on their sides as pictured and remove the four screws that hold the side panel on BUT DO NOT REMOVE THE SIDE PANELS.
-
We will be using the existing side panel screws to hold your STAX side panels on.
-
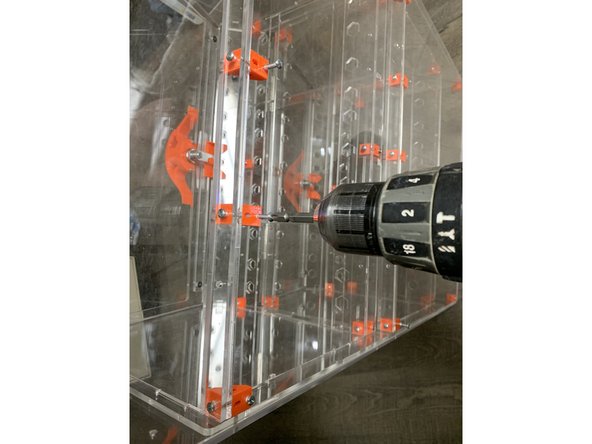
Lay your STAX side panel on top of your RepBox Sides and line up the holes so we can fasten the STAX side through the same side holes to the original RepBox brackets.
-
If you have your lid props installed onto this side of your RepBoxes you will need to remove them prior to adding the STAX side panel. Re-Add them once the STAX side has been installed
-
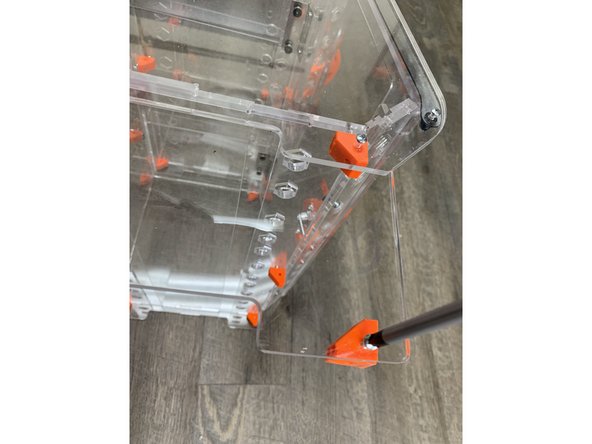
Add the two brackets to the base of the STAX side panel as shown. The corner of the bracket with the double holes on the end will be closest to the floor and facing inward as shown on both sides. (Double holes of base brackets will be facing each other.) This will ultimately hold the base together in later steps.
-
-
-
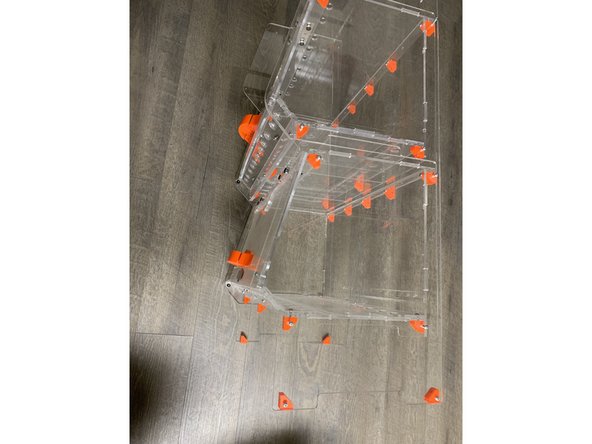
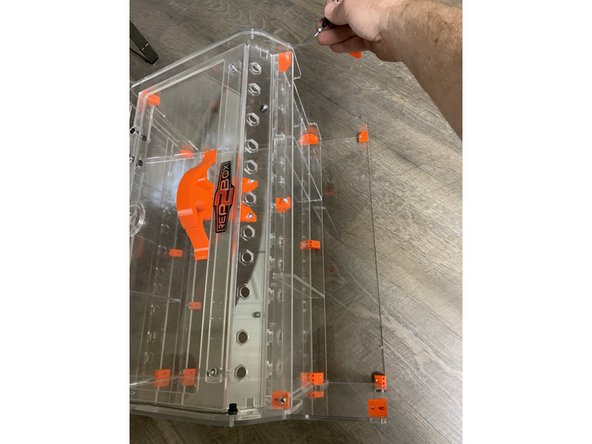
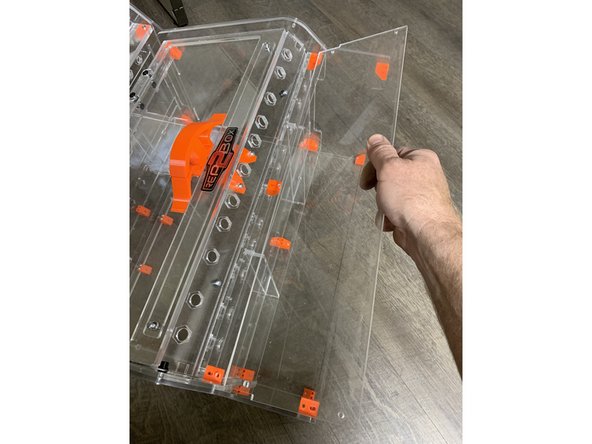
VERY CAREFULLY rotate your partial assembly with the one side and rear STAX panel on to the rear panel and then carefully onto the side panel you have already screwed on.
-
Remove the screws from all the sidepanels of your RepBoxes the same way you did when installing the first STAX sides but DO NOT remove the actual side panels from the RepBoxes.
-
If you have your lid props installed onto this side of your RepBoxes you will need to remove them prior to adding the STAX side panel. Re-Add them once the STAX side has been installed
-
Line up the STAX side panel to the existing side holes and fasten the second STAX side panel atop each of the RepBoxes you're connecting using the same TF screws that you just removed.
-
Attach the base brackets to the bottom of this STAX side panel the same way you did on the other side.
-
-
-
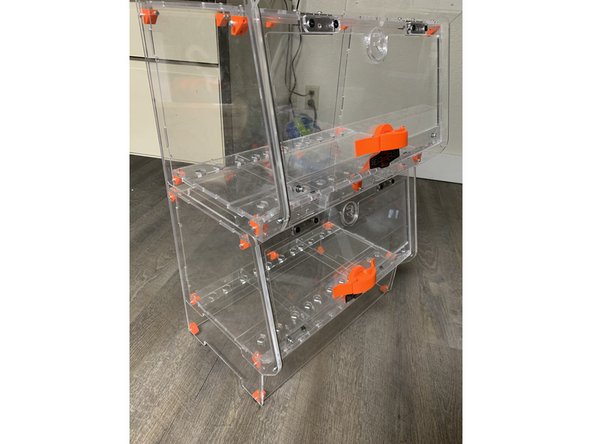
Carefully stand the now joined boxes up so its resting vertically on its feet as it will be when assembly is complete.
-
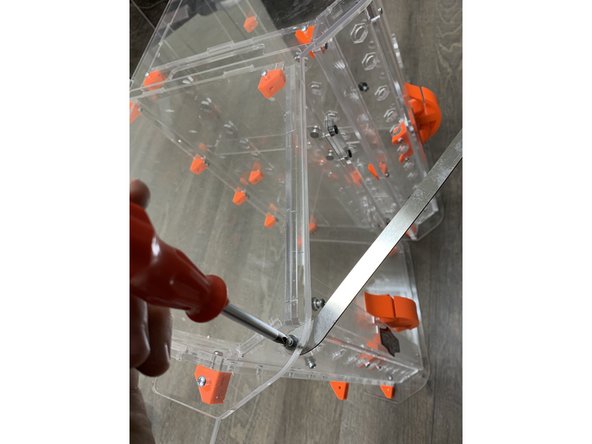
Rotate the stacked boxes so you can access the rear. Its now time to attach the rear STAX panel.
-
The rear STAX panel fastens to the brackets at the top of each of your RepBoxes via 5 TF screws for each RepBox in your STAX. Double STAX kits require 10 TF screws to fasten the back panel and triples require 15.
-
Press the appropriate number of TF screws through your rear STAX panel and fasten to each of the RepBox rear brackets.
-
-
-
Start by laying the partial assembly so its on its back (so the rear STAX panel is on the ground)
-
Remove the base faceplate cover piece from ONLY THE REPBOX AT THE BOTTOM OF YOUR STAX closest to the floor.
-
Leave the stringer support bar and everything else installed and in place. Hold on to the screws you removed from the front 3 brackets of the bottom RepBox in your STAX. We will use these to fasten the toe-kick back to the assembly.
-
Lay the toe-kick panel atop the stringer support bar for the bottom RepBox. The holes should all line up and the base of the toe kick should line up with the brackets you attached to the bottom of the STAX sidepanels in the previous step.
-
Fasten the toe kick panel to each of the brackets you just lined it up with using 5 TF screws.
-
-
-
At this point you should be ready to load. Double check you've fastened everything to the appropriate brackets and that you've re-attached any lid props you may have had to remove to attach the STAX sides.
-
The process for re-attaching lid props is exactly the same as it was on your original install. Make sure you re-install the spacer between the side panel and lid prop as you did when you first installed them.
-
Carefully tip your new STAX kit up and start loading it with your favorite filaments.
-
If needed please consider bolting your STAX kit to the wall with an appropriate child safety or seismic strap kit to avoid accidental tip-over.
-