
-
-
Prep the acrylic panel by tearing off a strip of the masking on both sides wide enough for the clamp panel to completely attach without touching paper.
-
Press five 16mm bolts through the finished side of the clamp panel and through the exposed edge of the the vinyl hinge.
-
Press the acrylic panel onto the exposed ends of the bolts and fasten with a nylock on each.
-
BE CAREFUL NOT TO OVERTIGHTEN THE NYLOCKS AS YOU MAY CRACK THE ACRYLIC
-
-
-
Press square nuts into the sides of the base handle and bolt to the acrylic using either 10mm bolts (if you have an earlier kit that uses them) or 16mm bolts.
-
The handle itself is reversible. You may install with the curved end either up or down, whichever you prefer.
-
Press one of the plugs over the exposed center hole to cover the hole in the handle and acrylic.
-
If you prefer a different handle aesthetic you may 3D print a top handle from the files included on the website. The top handle is included with the seal kit as part of the rotating latch mechanism but can be bolted in place as a stationary top to the handle if desired.
-
-
-
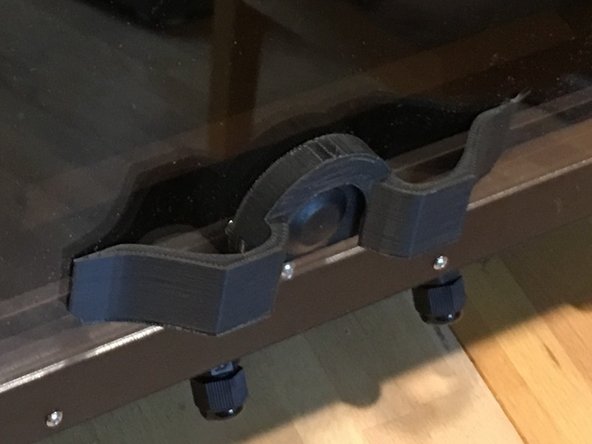
Slide the top handle into the base handle channel so that the slit lines up with each.
-
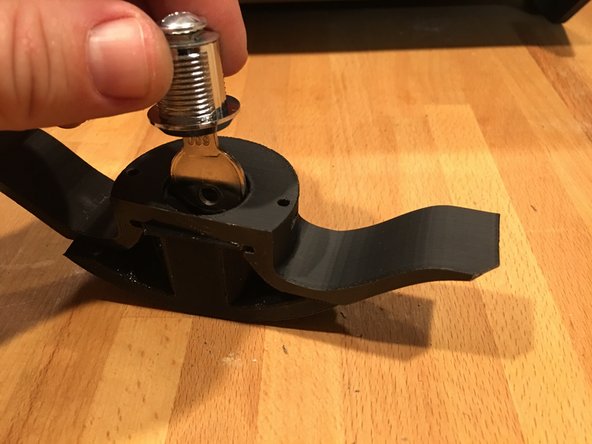
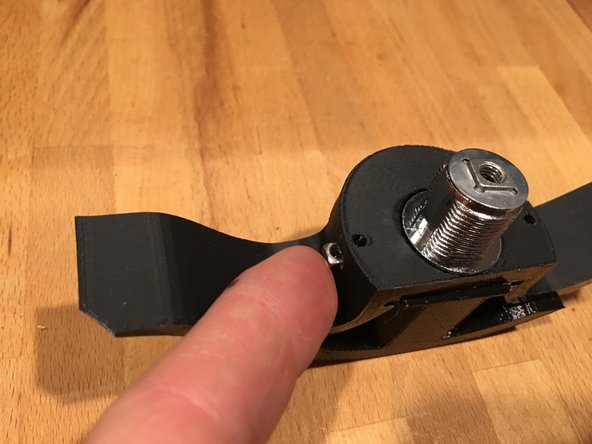
Place the key into the lock assembly and slide the whole assembly into the handle set.
-
Rotate the cylinder of the lock so that the threads are on the top and bottom of the handle set.
-
Remove the screw from the top of the lockset where the lock bar is installed and press square bolts into the sides of the base latch assembly.
-
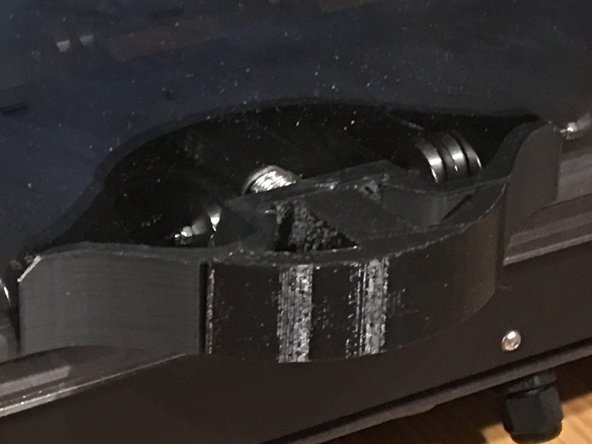
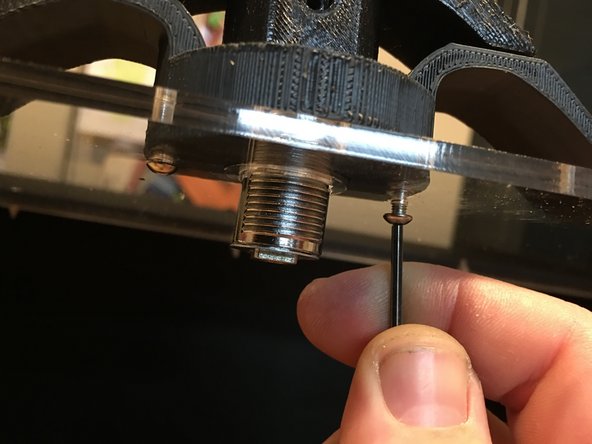
Grabbing the whole assembly handle and lock set press the lock set through the acrylic and then bolt from the underside using either 10mm (if you have an earlier kit that has them) or 16mm bolts.
-
DO NOT install the included nut on the backside of the latch assembly. It is not needed and it rubs on the seal gasket when opening and closing the lid over time.
-
-
-
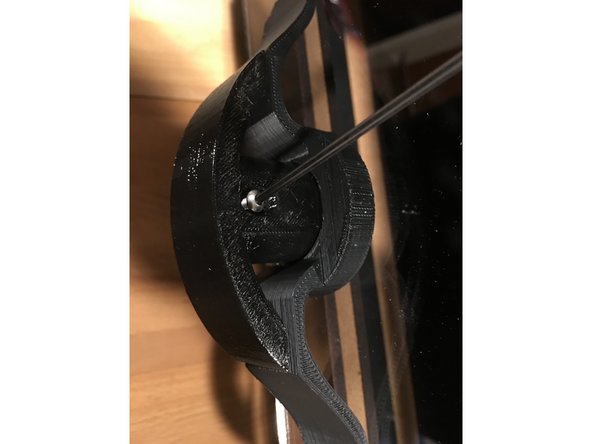
Run a 16mm bolt through the top handle to hold the key in place better and cause less wiggling during rotation.
-
If you prefer to be able to lock the box and remove the key just leave the top handle off when you're doing the assembly so the key is exposed.
-


Cancel: I did not complete this guide.
2 other people completed this guide.

One Comment
Never showed attaching the latch to the lock to engage the strike plate.