
-
-
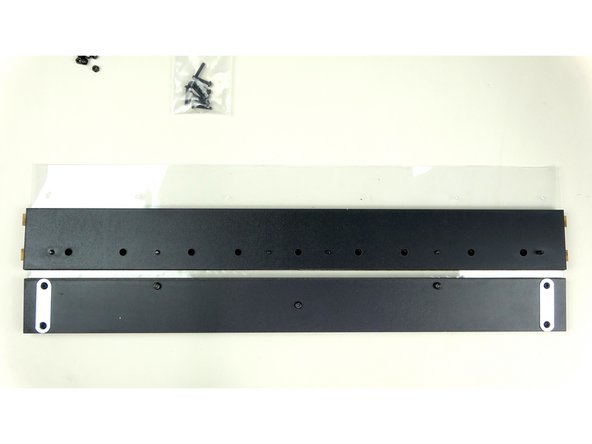
Inner and Outer Face Plates (Seal Kit will have a larger Inner Face Plate)
-
Inner and Outer Exit Plates
-
Large Vinyl Hinge
-
14mm and 10mm Bolts
-
Rivnuts and Nylock Nuts
-
Metal Maglatch Plates
-
Allen Wrench and 3D Printed Nut driver
-
Seal Kit Parts: 3D Printed Strike Plate, 16mm bolt, Larger Inner Face Plate.
-
-
-
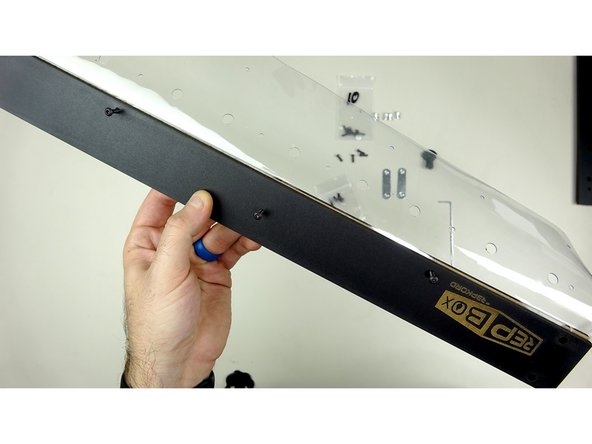
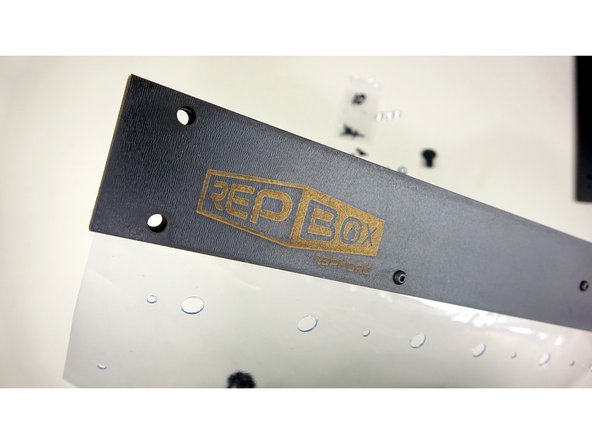
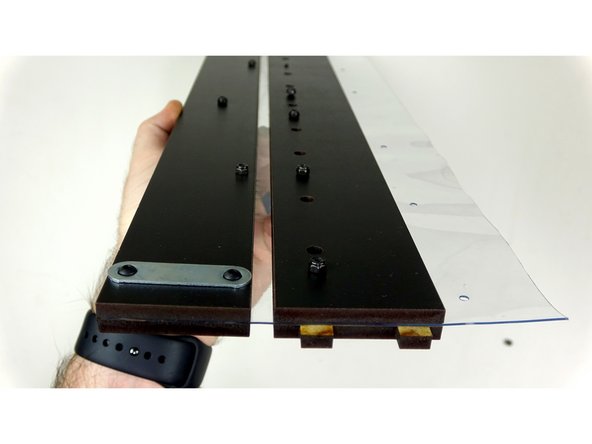
Place the Outer Face plate (with Repkord logo) on TOP of the Large Vinyl Hinge as pictured. Make sure to note proper hole alignment. The vinyl sheet is cut so that only one side lines up correctly with the holes in the panel.
-
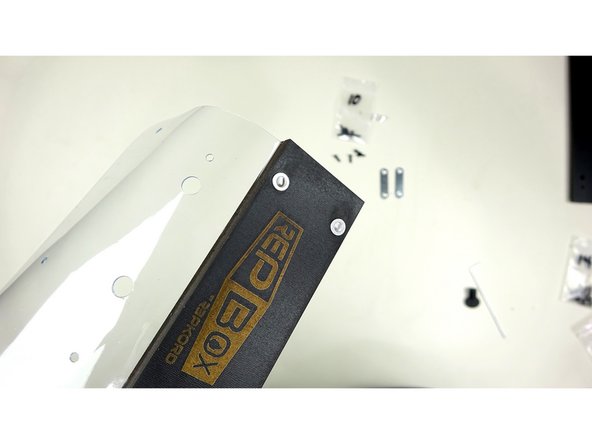
Flip the whole thing over, so that now the logo is facing the table and the vinyl is between you and the plate as pictured.
-
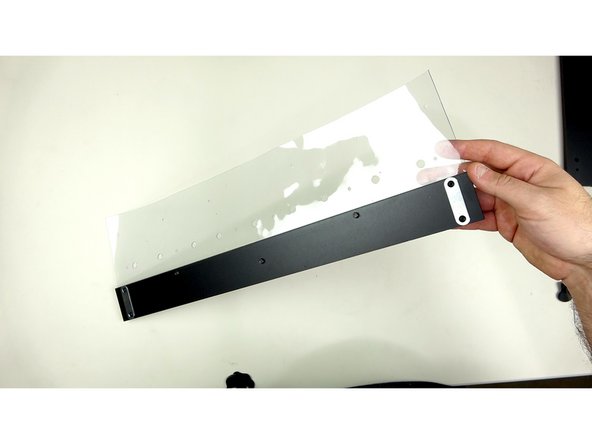
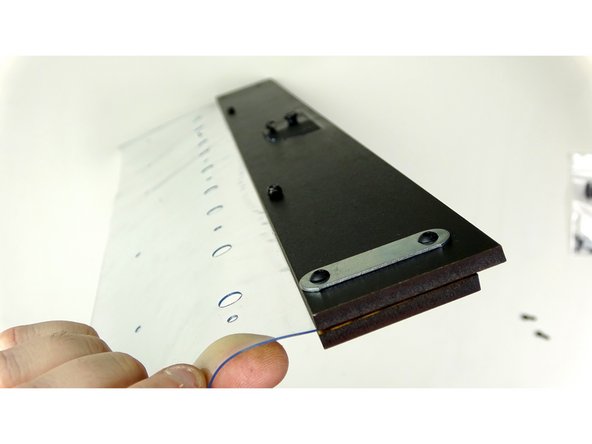
Place the Inner Face Plate on TOP of the vinyl sheet, above the Outer Face Plate as pictured. The vinyl should now be sandwiched between the two panels.
-
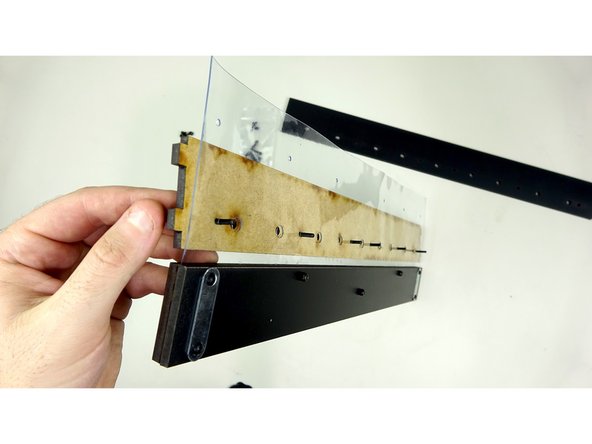
Seal Kit: Follow the same steps as above, but note that the seal kit inner face plate extends past the top of the outer face plate.
-
-
-
Standard Kit: Insert Three , 14mm bolts through the smaller holes. They should be inserted from the front (panel with logo) to the back. The Pan heads of the bolts should be on the logo side.
-
Seal Kit: Place two, 14mm bolts in the end holes of the faces. Leave the center hole open.
-
Cap off each bolt on the back side with a Nylock nut.
-
Using the included allen wrench and 3D Printed nut driver, tighten down the bolts and nuts. Do not tighten them completely just yet.
-
Last Pic is of Seal Kit version.
So sorry for the confusion here. The box you received is the newer version 1.5 which has a slightly different build process and materials. We’re working on getting this up today. In the meantime please feel free to reach out to support (at) repkord (dot) com for any assistance.
-
-
-
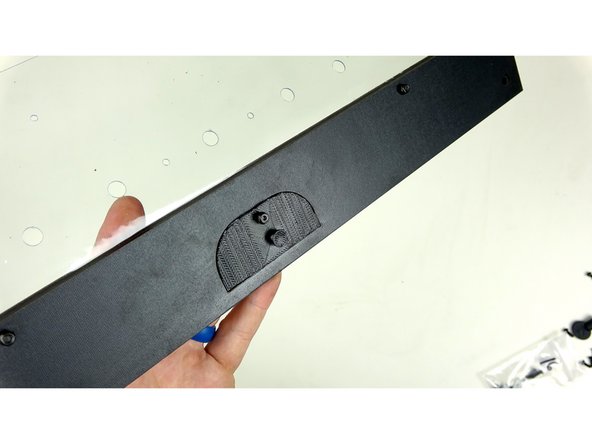
Clean out the char of the laser routed spot on the inner face plate.
-
Place the 3D Printed Strike plate into the cutout.
-
You may need to slightly trim the strike plate to get it to recess fully.
-
Use a 16mm bolt and nylock to secure the strike plate to the other two panels. Nylock goes on the side with the strike plate.
-
-
-
The rest of this stage shows the standard kit, but the steps pertain to both the standard kit and the sealed kit.
-
Insert 4 rivnuts (silver tubes in fastener bag) into the large four holes on the ends of the Face Plates. They should be inserted so the flanged part rests against the FRONT panel.
-
Secure the Metal Maglatch plates, one on each side, to the Back Face Plate using four, 10mm bolts.
-
The bolts should go through the Maglatch plate, through the Back Face Plate, through the vinyl, and grab the rivnuts on the other side.
I did not receive any rivnuts in my kit. I’m going to stop here. These instructions are useless for the version of the kit that I received. This kit is a major disappointment so far. I wasted more than hour trying to figure out what is what and I have not put in the first screw.
-
-
-
With everything face down (logo down), place the Outer Exit Plate (the one WITH tabs) under the vinyl sheet as pictured.
-
Insert six, 14mm bolts through the plate and through the vinyl sheet.
-
Place the Inner Exit Plate on top of the vinyl, being careful to line up the bolts with the holes as pictured.
-
Secure the plates using 6 nylock nuts. Do not tighten completely yet.
-
Check you work: The Maglock plates should be on the opposite side of the Repkord logo. The Exit plate with the tabs should be on the SAME side as the logo. The Exit plate without the tabs should be on the same side as the Maglock plates. If everything looks good, hit that link in the last step to go to the next Stage!
-
-
-
If you have the seal kit, quickly check your work against the picture.
-
If everything looks good, click here to head over to the next Stage!
Two notes:
1) Clear vinyl may seem to be off a bit. That is due to expansion or shrinkage from the temperature difference from the RepKord shop and your shop.
2) When you tighten the nuts and bolts start from the center and work your way out.
-


Cancel: I did not complete this guide.
4 other people completed this guide.

One Comment
So stupid me, looking at the picture in step one I assumed I only needed 14mm bolts for the whole thing. If I looked at was listed next to the picture I would have seen 10mm is also listed. I only figured this out after putting 14mm into rivnuts in step 5 and wondering why they were poking out.